How to manually add, delete, and edit articles in Bolt CMS

Written by Abby Reilly
Updated at March 3rd, 2026


Table of Contents
How to manually add articles in Bolt CMS
The Basics
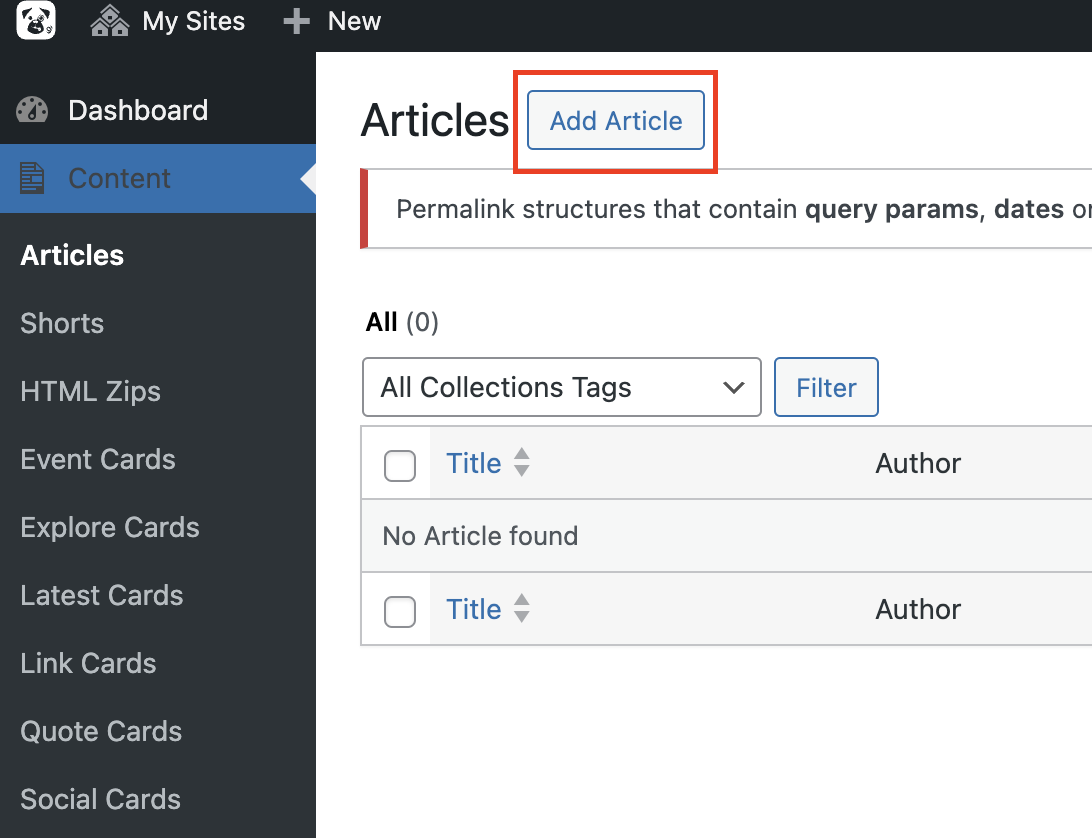
In your right-hand menu navigate to Content > Article > Add Article. This should load a blank article template for you to create your content. On the template page, you will see in the Syndication box that it says the article was created locally and not created via feed.
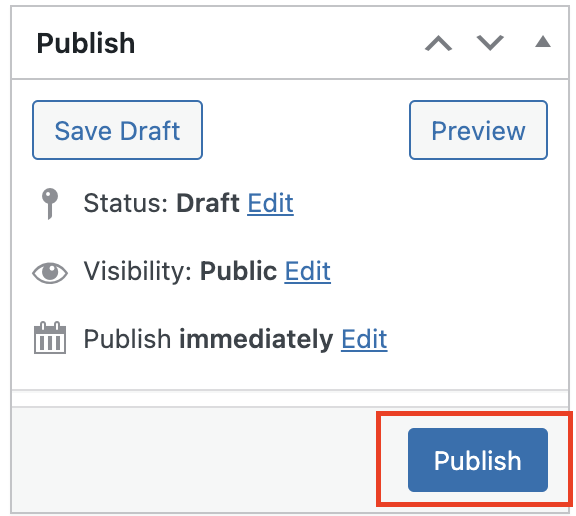
Remember to save throughout your progress! As you work, you will see an article listed as "DRAFT" in your feed so you know it is not live. Additionally, you can hover over your article title and select "Preview" to see what an article will look like before you officially publish it.
When manually creating an article, at minimum, you should have your article headline, text, author, and tags filled out.
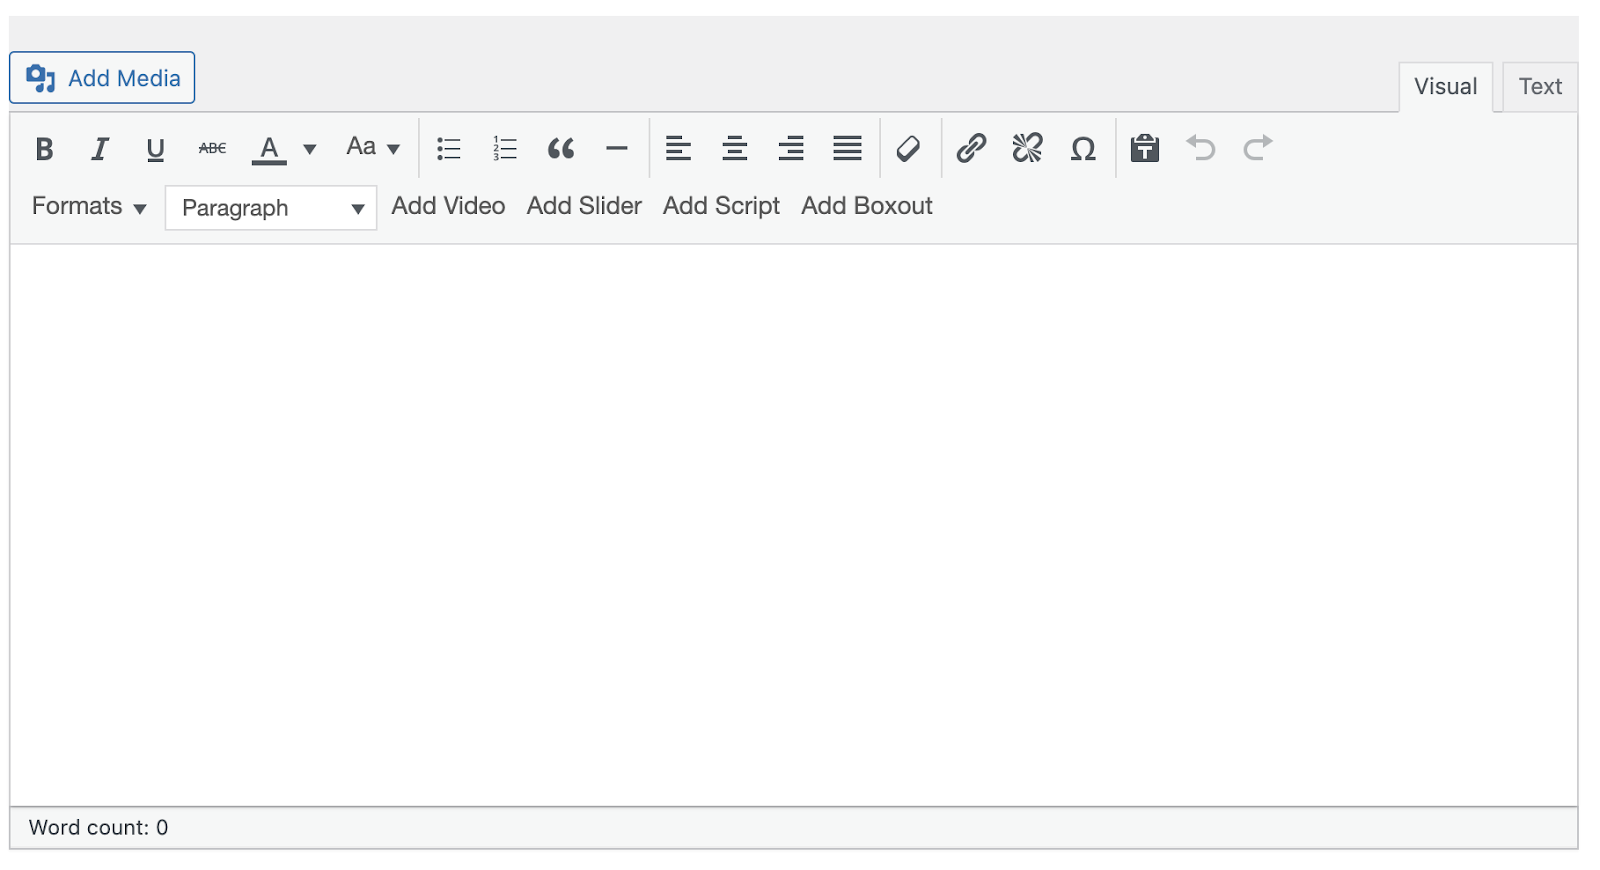
At the top of the blank article template, you will see a text editor, which has controls for text formatting, image handling, and will also allow you to toggle between a preview and an html POV.
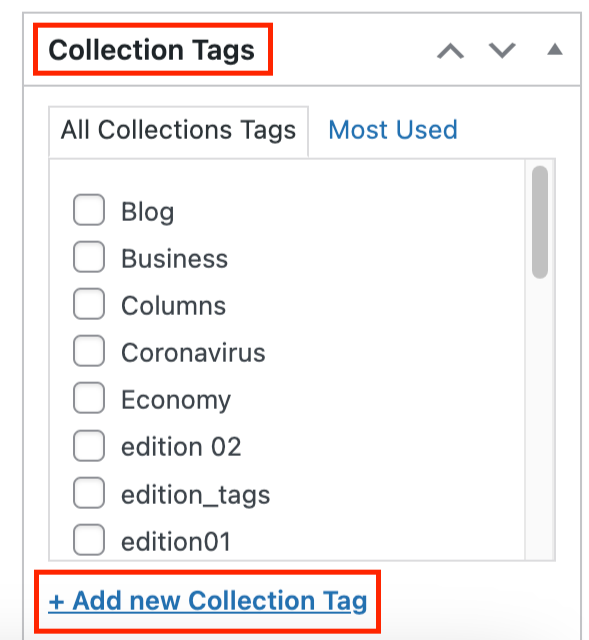
On the right-hand side, you will see boxes with selections for sections, collections, editions, and/or timelines. (The exact type of tag options might vary.) You should select the appropriate tags to allow your content to appear under certain collection, sections, etc. You can make multiple selections within each tag box.
You can also create new tags from this box by selecting the "+ Add new" button.
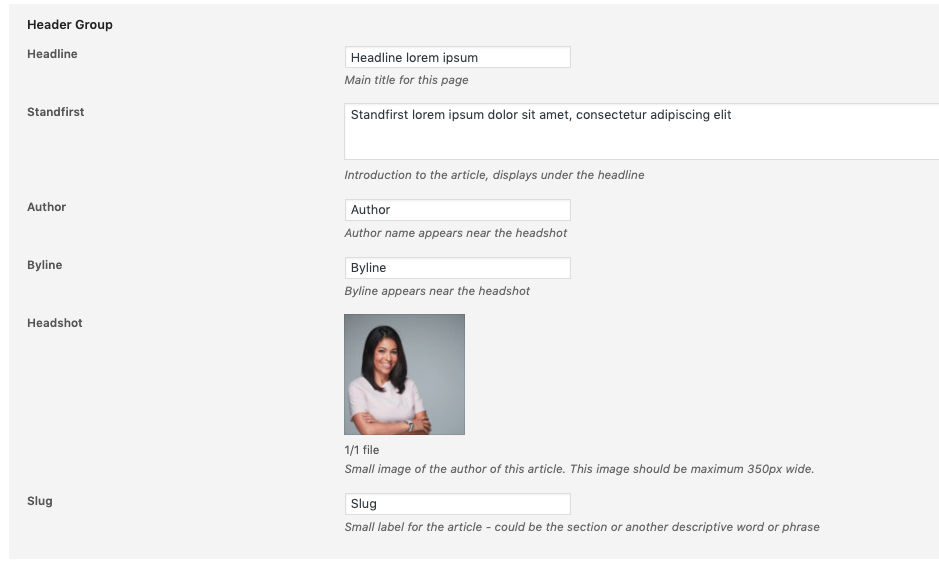
In the header group, you should enter the headline, author, and byline information.
When you are ready to publish, press "Publish"
Additional Article Options and Settings
There are many additional options for you to manage when you are manually adding an article, all discussed below!
Overrides: If you want a different text and/or image to appear on your timeline (versus what is in the article itself), you would enter those overrides here. You have several override options:
- Timeline headline
- Summary
- Image
Display options: there are several boxes for you to control exact how your content is seen and interacted with by app users here. Options include:
- Pin to top: Will pin an article to the top of its timeline.
- Disable sharing: Will remove the sharing option for users.
- Enable commercial banners: Adds a banner to let app uses know that they are reading a sponsored article.
- Hide from timeline: If you don't want content to appear in your live timeline, but need an article card so you can create a deep link.
- Display summary: You can select to display or hide the article card summary
- Related articles: Can be selected from the dropdown
- Free sample: if you want this article to be excluded from your paywall.
- Note: Your settings on your timeline must allow for articles to be shared for free. Otherwise, this setting will not stick.
- Contributors: You can add additional authors here.
- Flashes: Add an additional section here. (For example: Investigations).
- Hide publication date: You can click this to hide the publication date from app users.
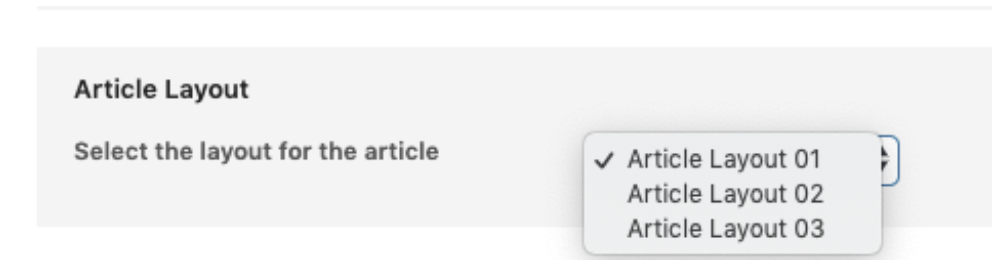
Layout: You can control how your article is displayed and how it appears in its timeline.
- Article Layout: A drop-down menu to select from multiple different article layout options (these should have been already pre-created for you to match your specific article styling, if you have any questions about these let us know!):
- Timeline Layout: This controls how your article will appear in its Timeline. You can select from several layouts:

Media: You can add media to your article in various formats.
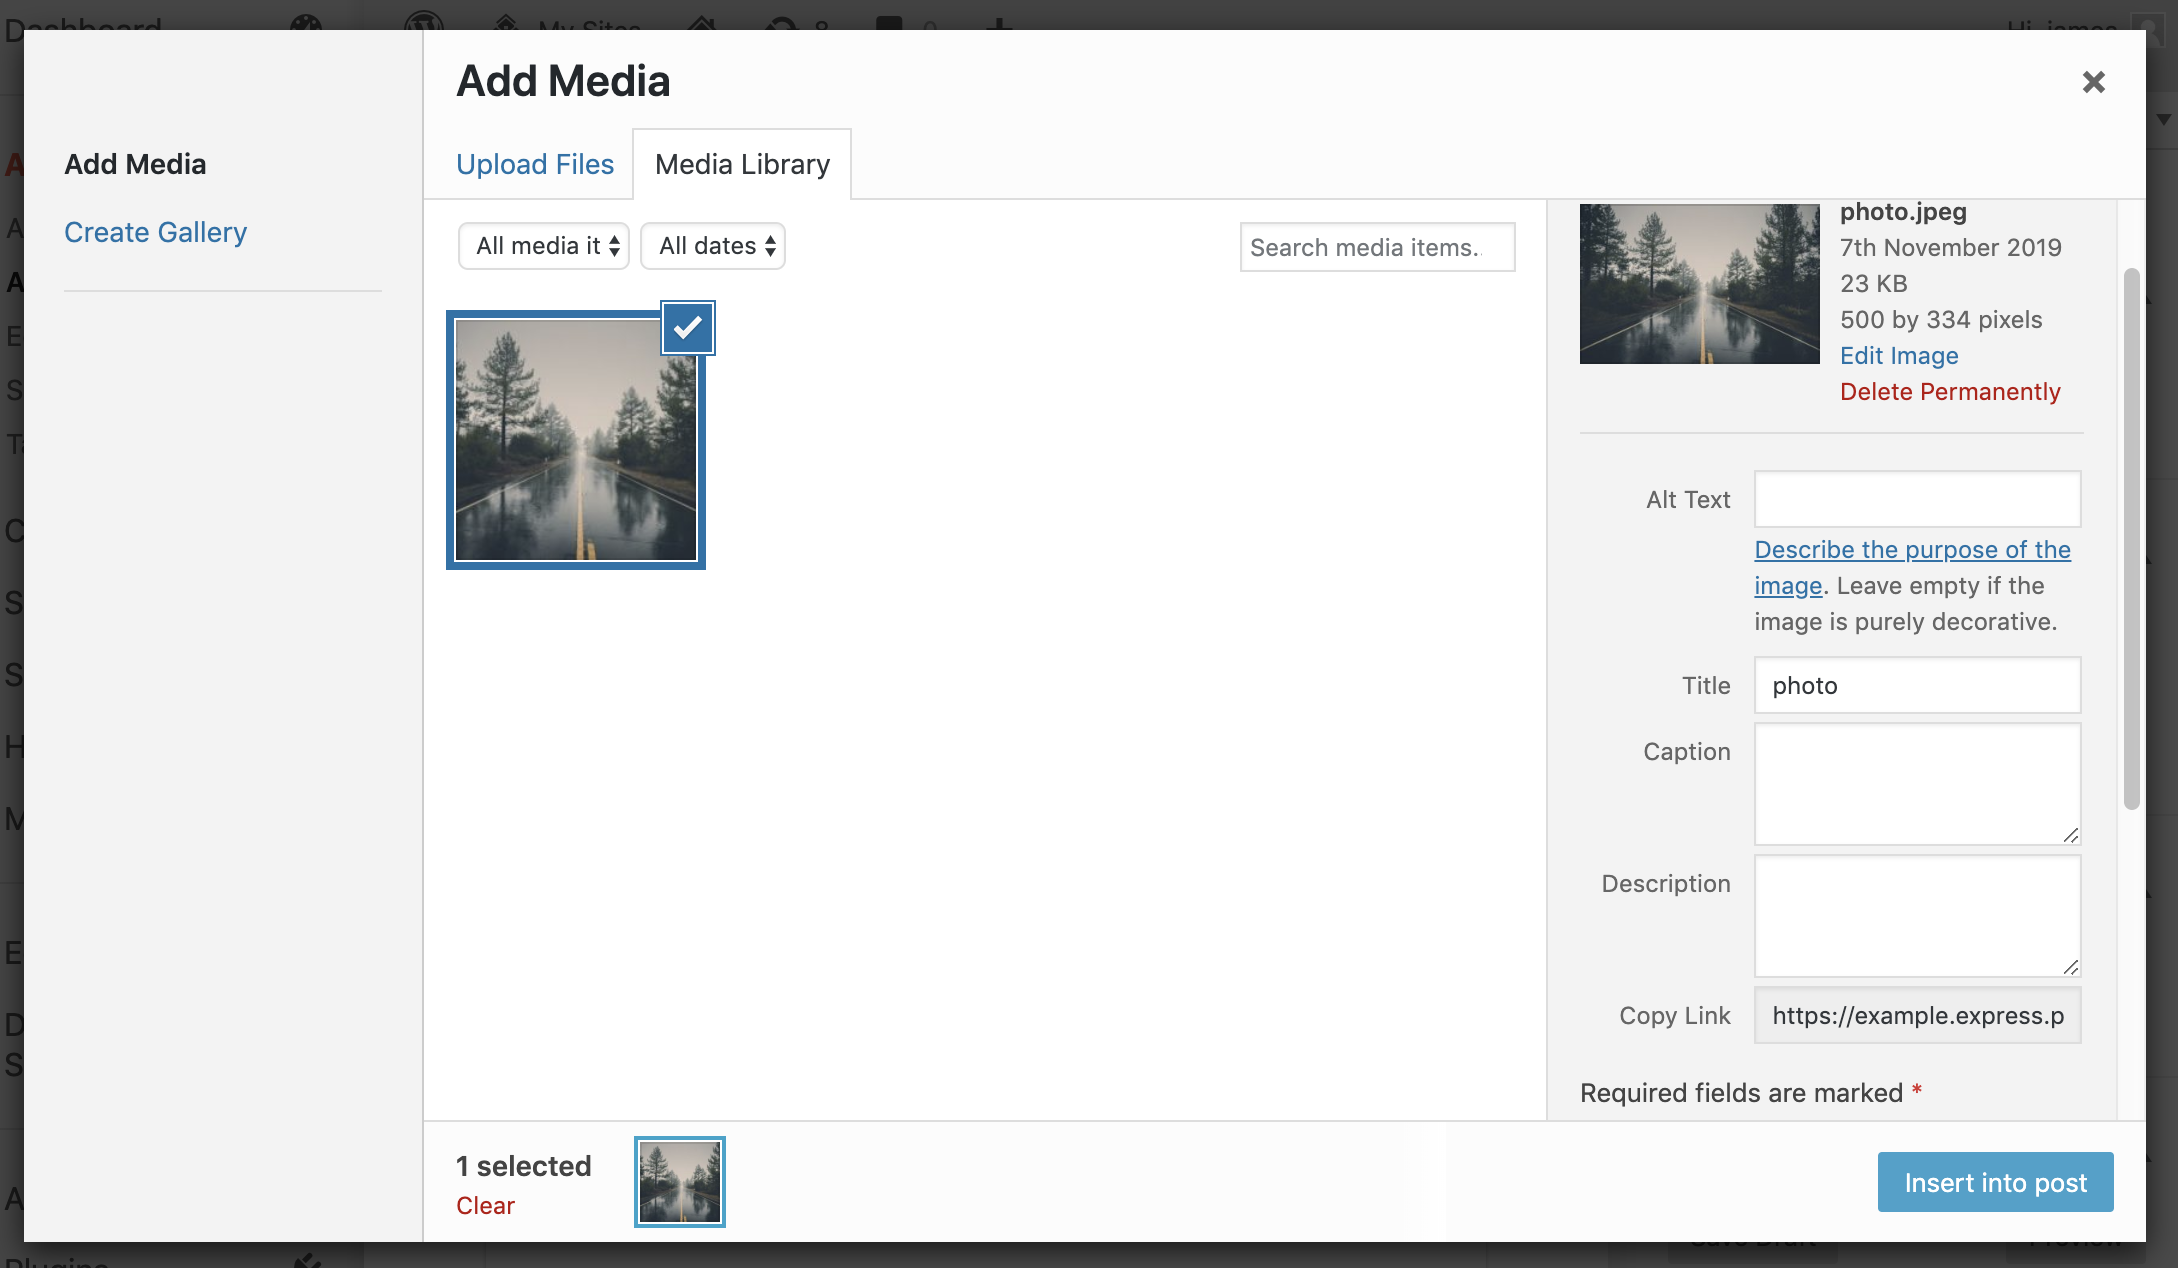
- Adding Images: You can add image directly from your machine's folders or from your media library. Use the functionality on the right-hand side to add metadata for your images, such as captions and alt-text.
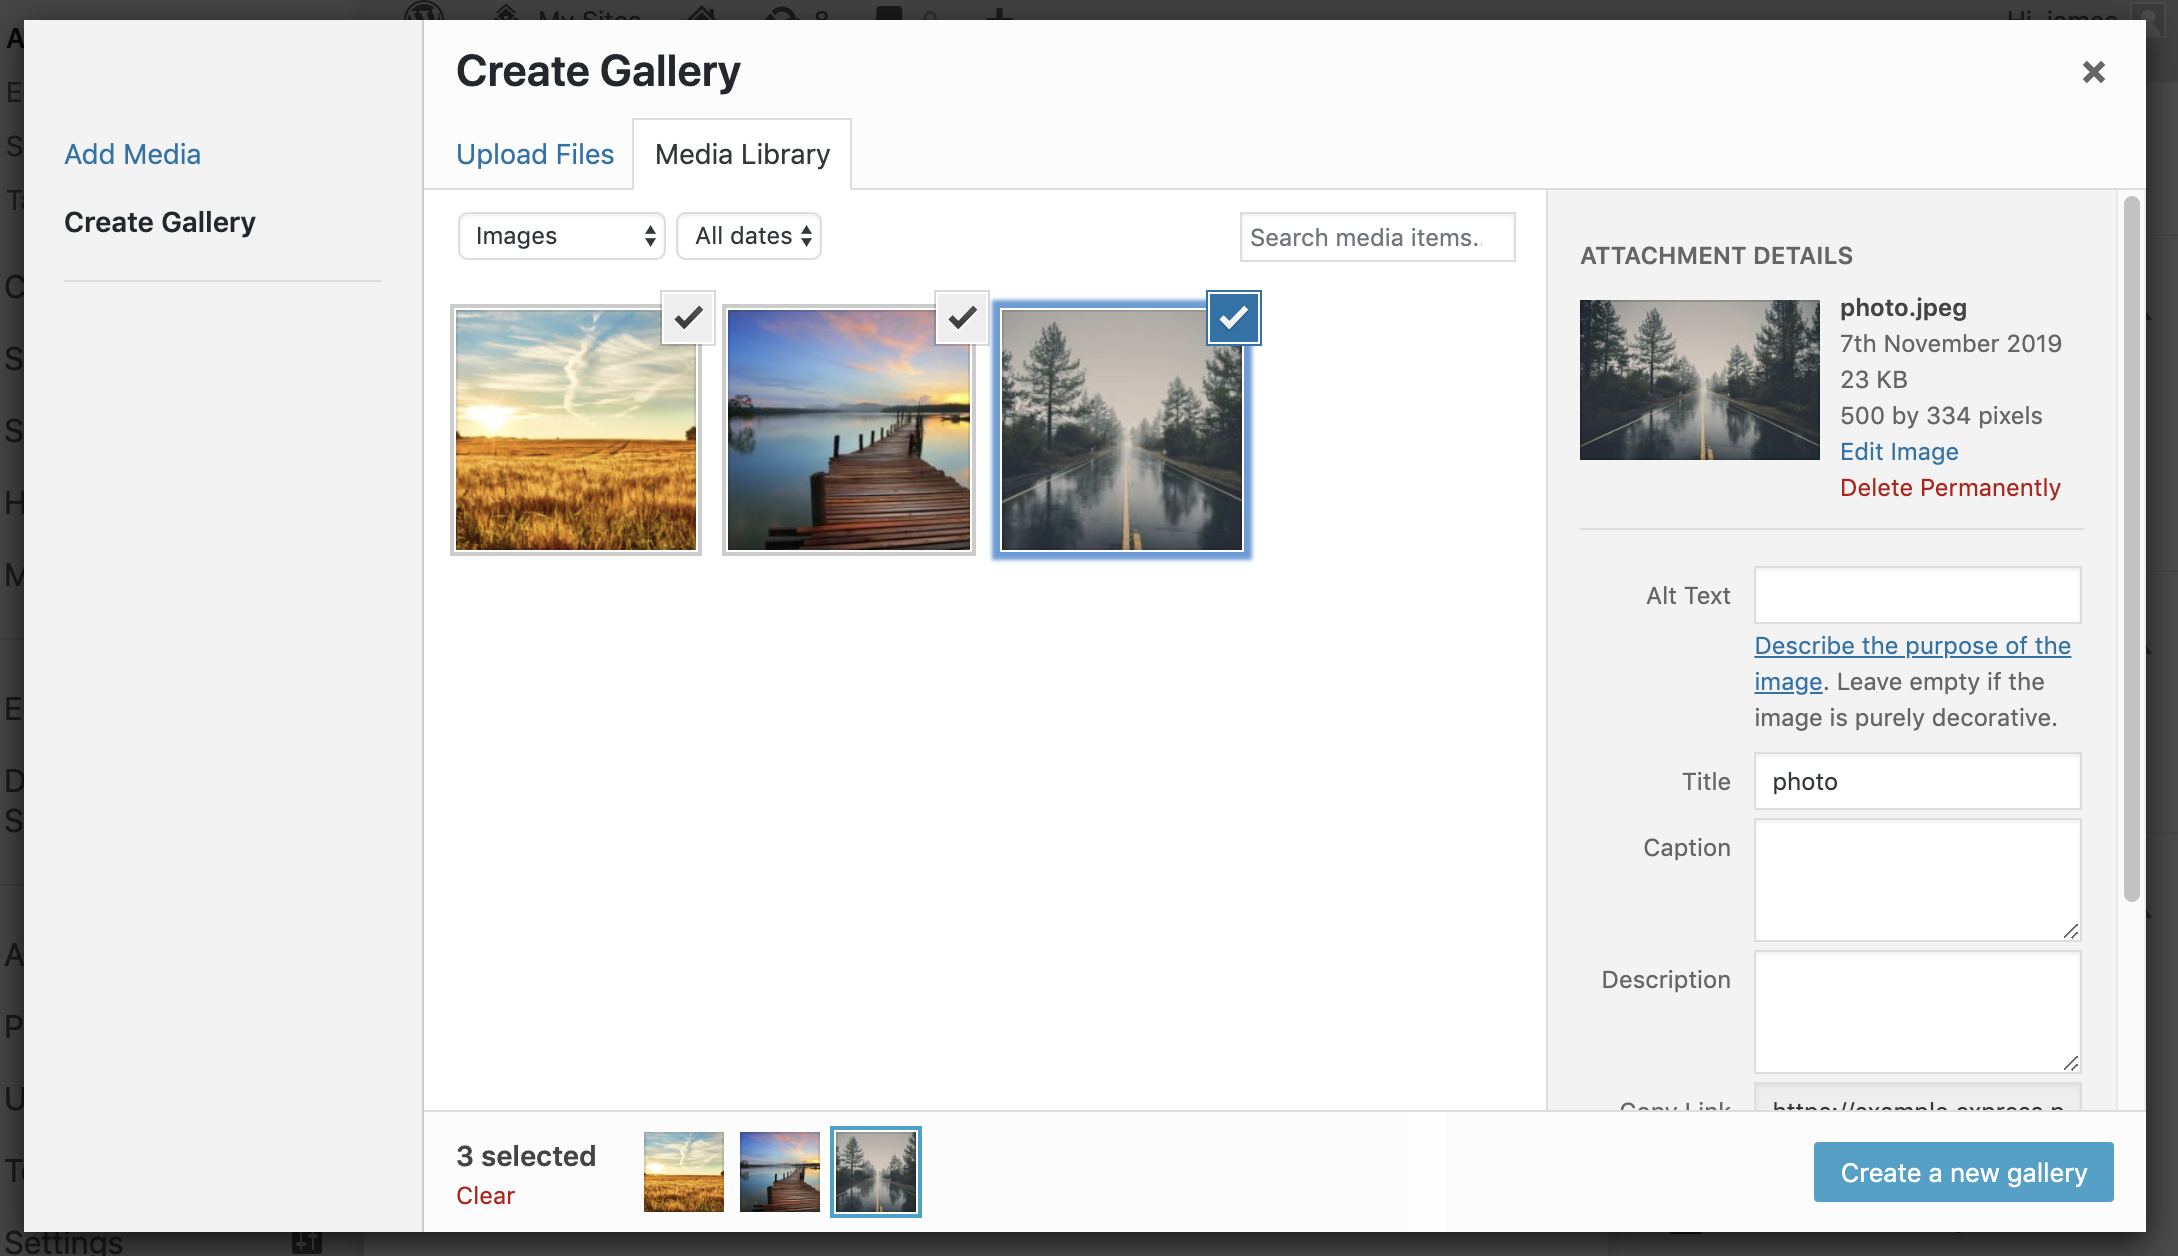
- Image Galley: To create an image gallery, go to Add Media > Create Gallery.
- Creating galleries is straightforward: simply select the images and they will appear in the preview at the bottom of the screen. You can use the same tools as above to add the necessary or desirable metadata.
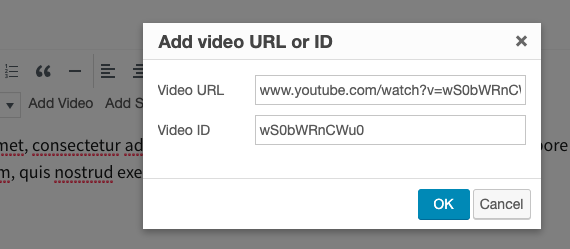
- Adding Video: You can easily add Youtube videos with the "Add Video" function. Paste the URL and add the video ID separately, e.g. www.youtube.com/watch?v=wS0bWRnCWu0
Sliders: Our slider functions are ideal for presenting chunks of small content in a user-friendly way on mobile devices. Simply add your slider content and then click "Add Slider" in the main text formatting window. Once you have selected your slides, you can insert the content into your article. For best practice, we recommend that all slider images within the same slider are created to be the same pixel dimensions.

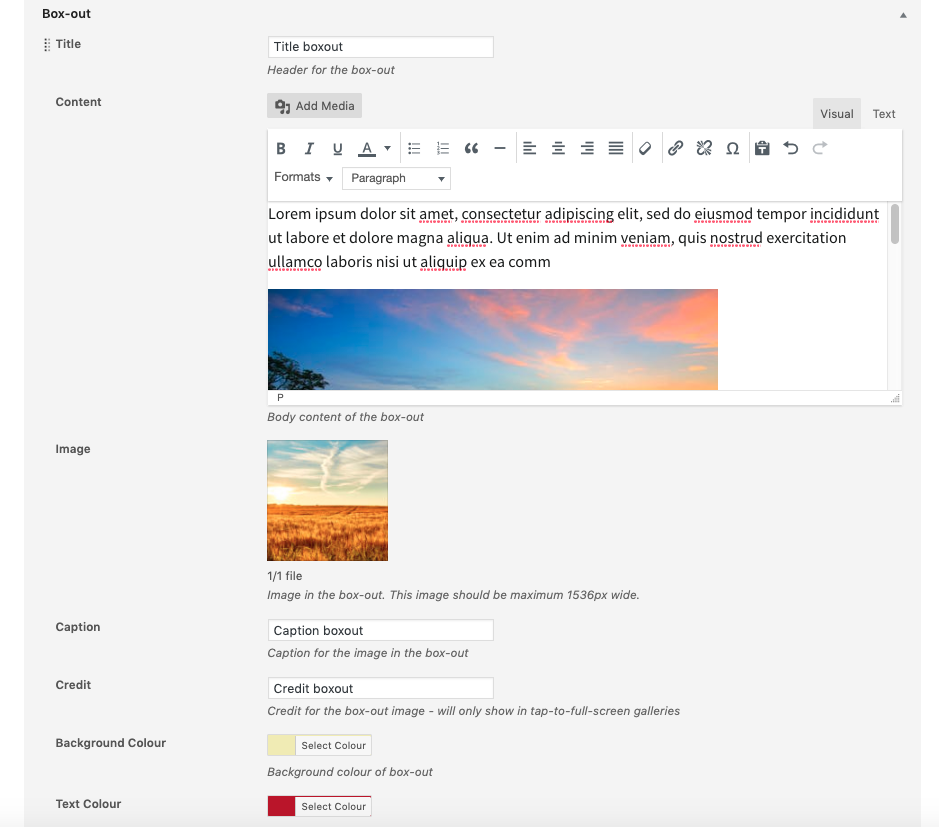
Box-out: Our box-out functions are ideal for presenting relevant pieces of content in a user-friendly way for app users. Simply add your content then add within the article as shown below. To insert the box-out, click the insert button in your main text editor window and select the content to appear.
Main Media is where you can control the settings for your lead image.
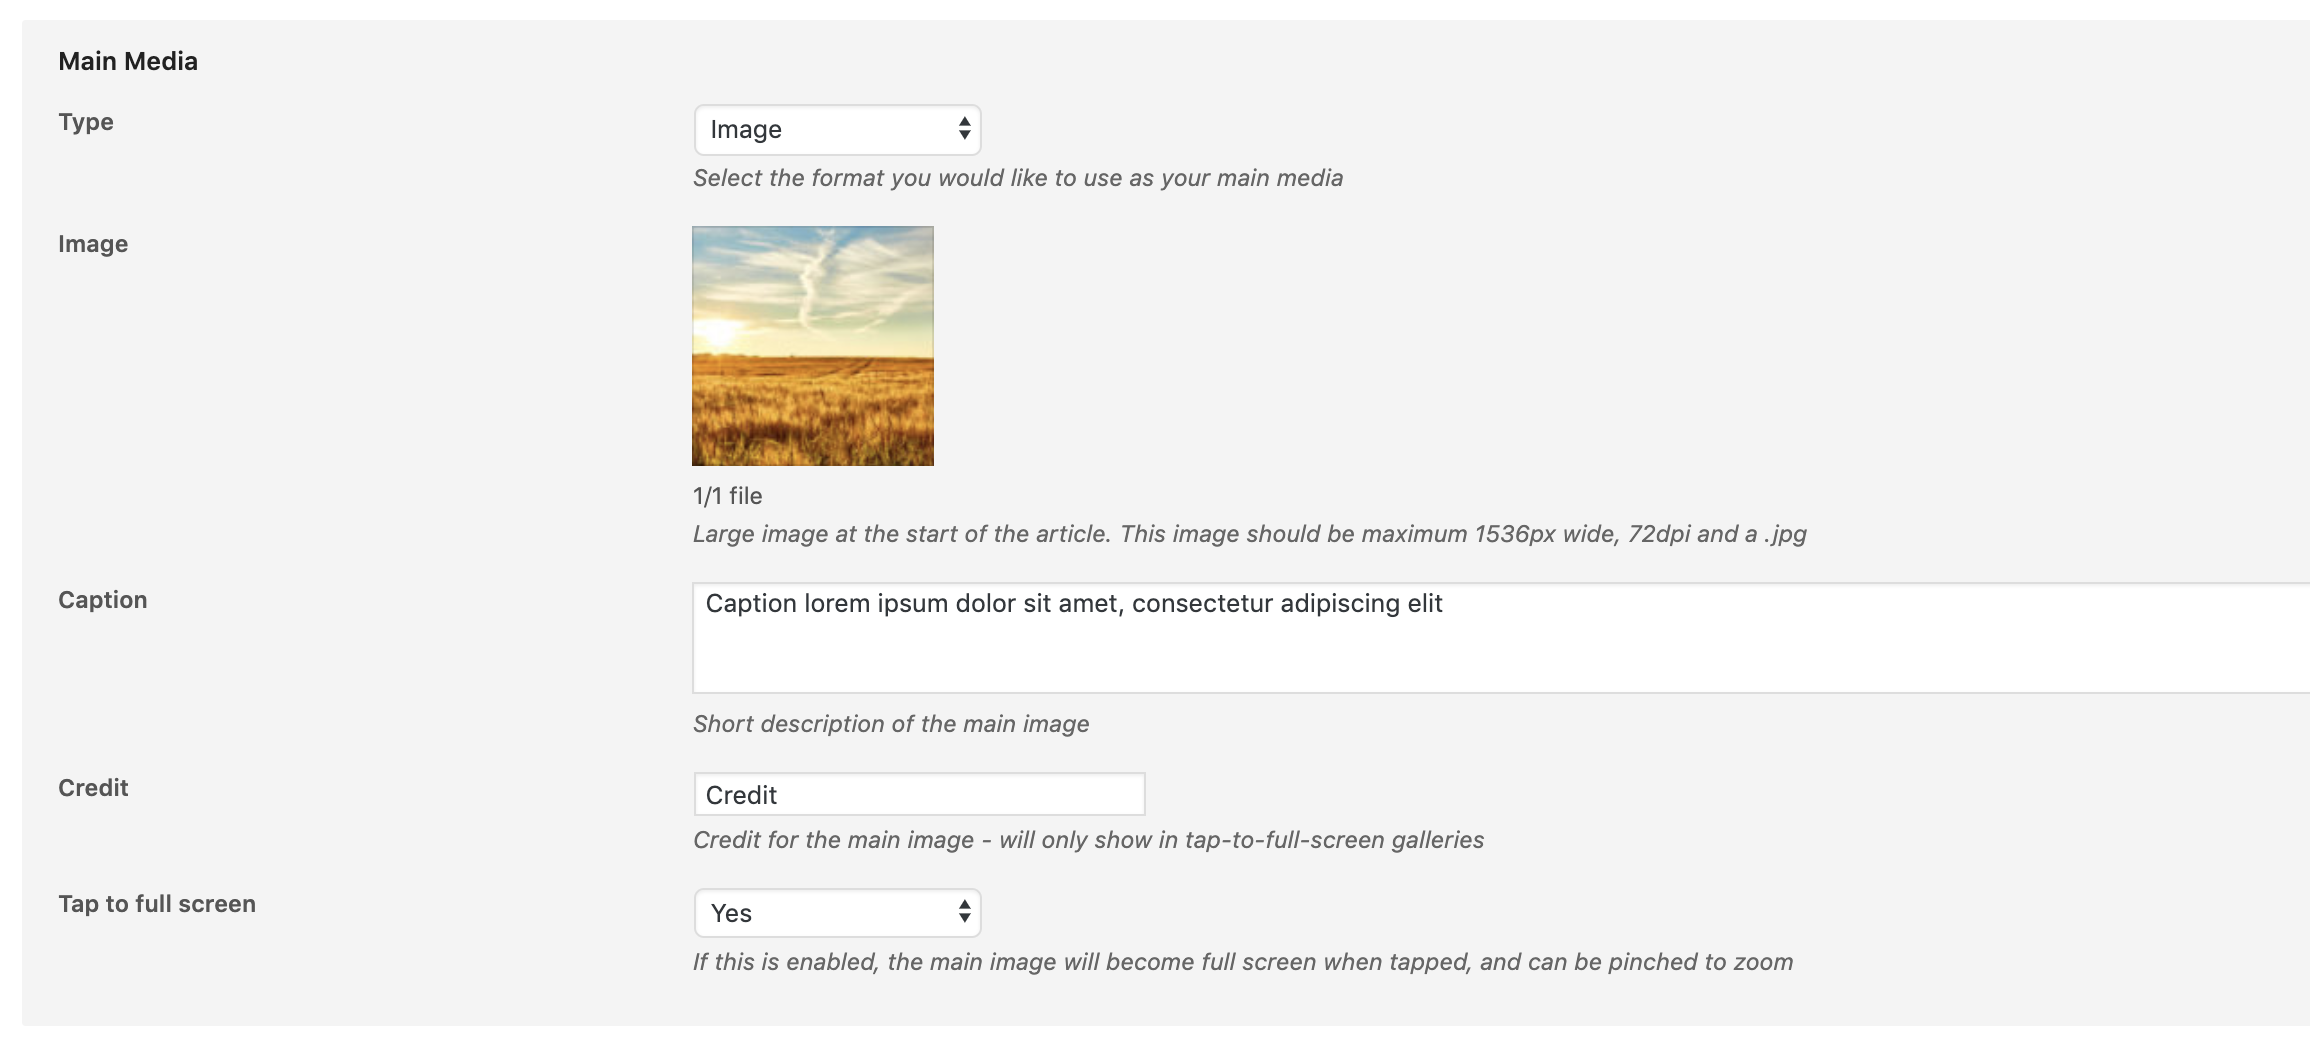
Please note that the "Tap to Full Screen" selector controls whether or not an app user will be allowed to expand an image to full screen on a device.
Kicker: The kicker will appear as a highlighted banner above the article on the timeline. You can enter any text to appear there.
Video Tutorial: How to add an article
How to restore previously published articles in Bolt CMS?
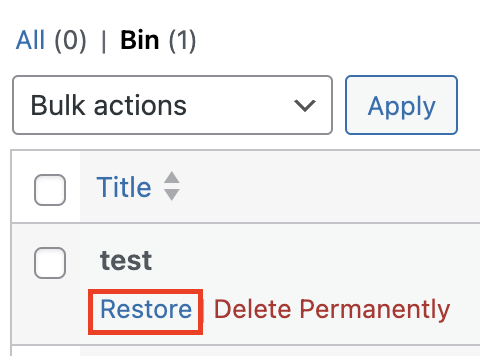
Articles can be restored from the Bin by clicking "Restore" from your article Bin page.
Video Tutorial: How to restore an article
How to manually delete articles in Bolt CMS?
To remove an article from the app, you should set it as Expired, rather than moving it to the Bin straight away. From inside the article card, go to the right-hand Publish box and change the article's status from “Published” to "Expired".
Once set to expired, the article will process through Distribution - which will remove it from the app and from search results. After this has processed, you can then permanently remove it from the CMS by moving it to the Bin/Trash.
Moving to Trash/Bin
Moving an article to the Trash/Bin does not automatically remove it from the app or search. Always use the Expired status to ensure it is properly distributed and taken down
Replacing Deleted Items from Your Feed
if you want to publish a new version of an article from your feed, but a previous version still is in your Bin, the article will not be published (since the feed will think it is a duplicate article). You need to permanently delete the old article for the updated article to publish from your feed. You can also select 'Empty bin" to permanently delete all items in the bin. Or select and bulk delete multiple specific items at once.
Video Tutorial: How to delete an article
How to edit already published articles in Bolt CMS?
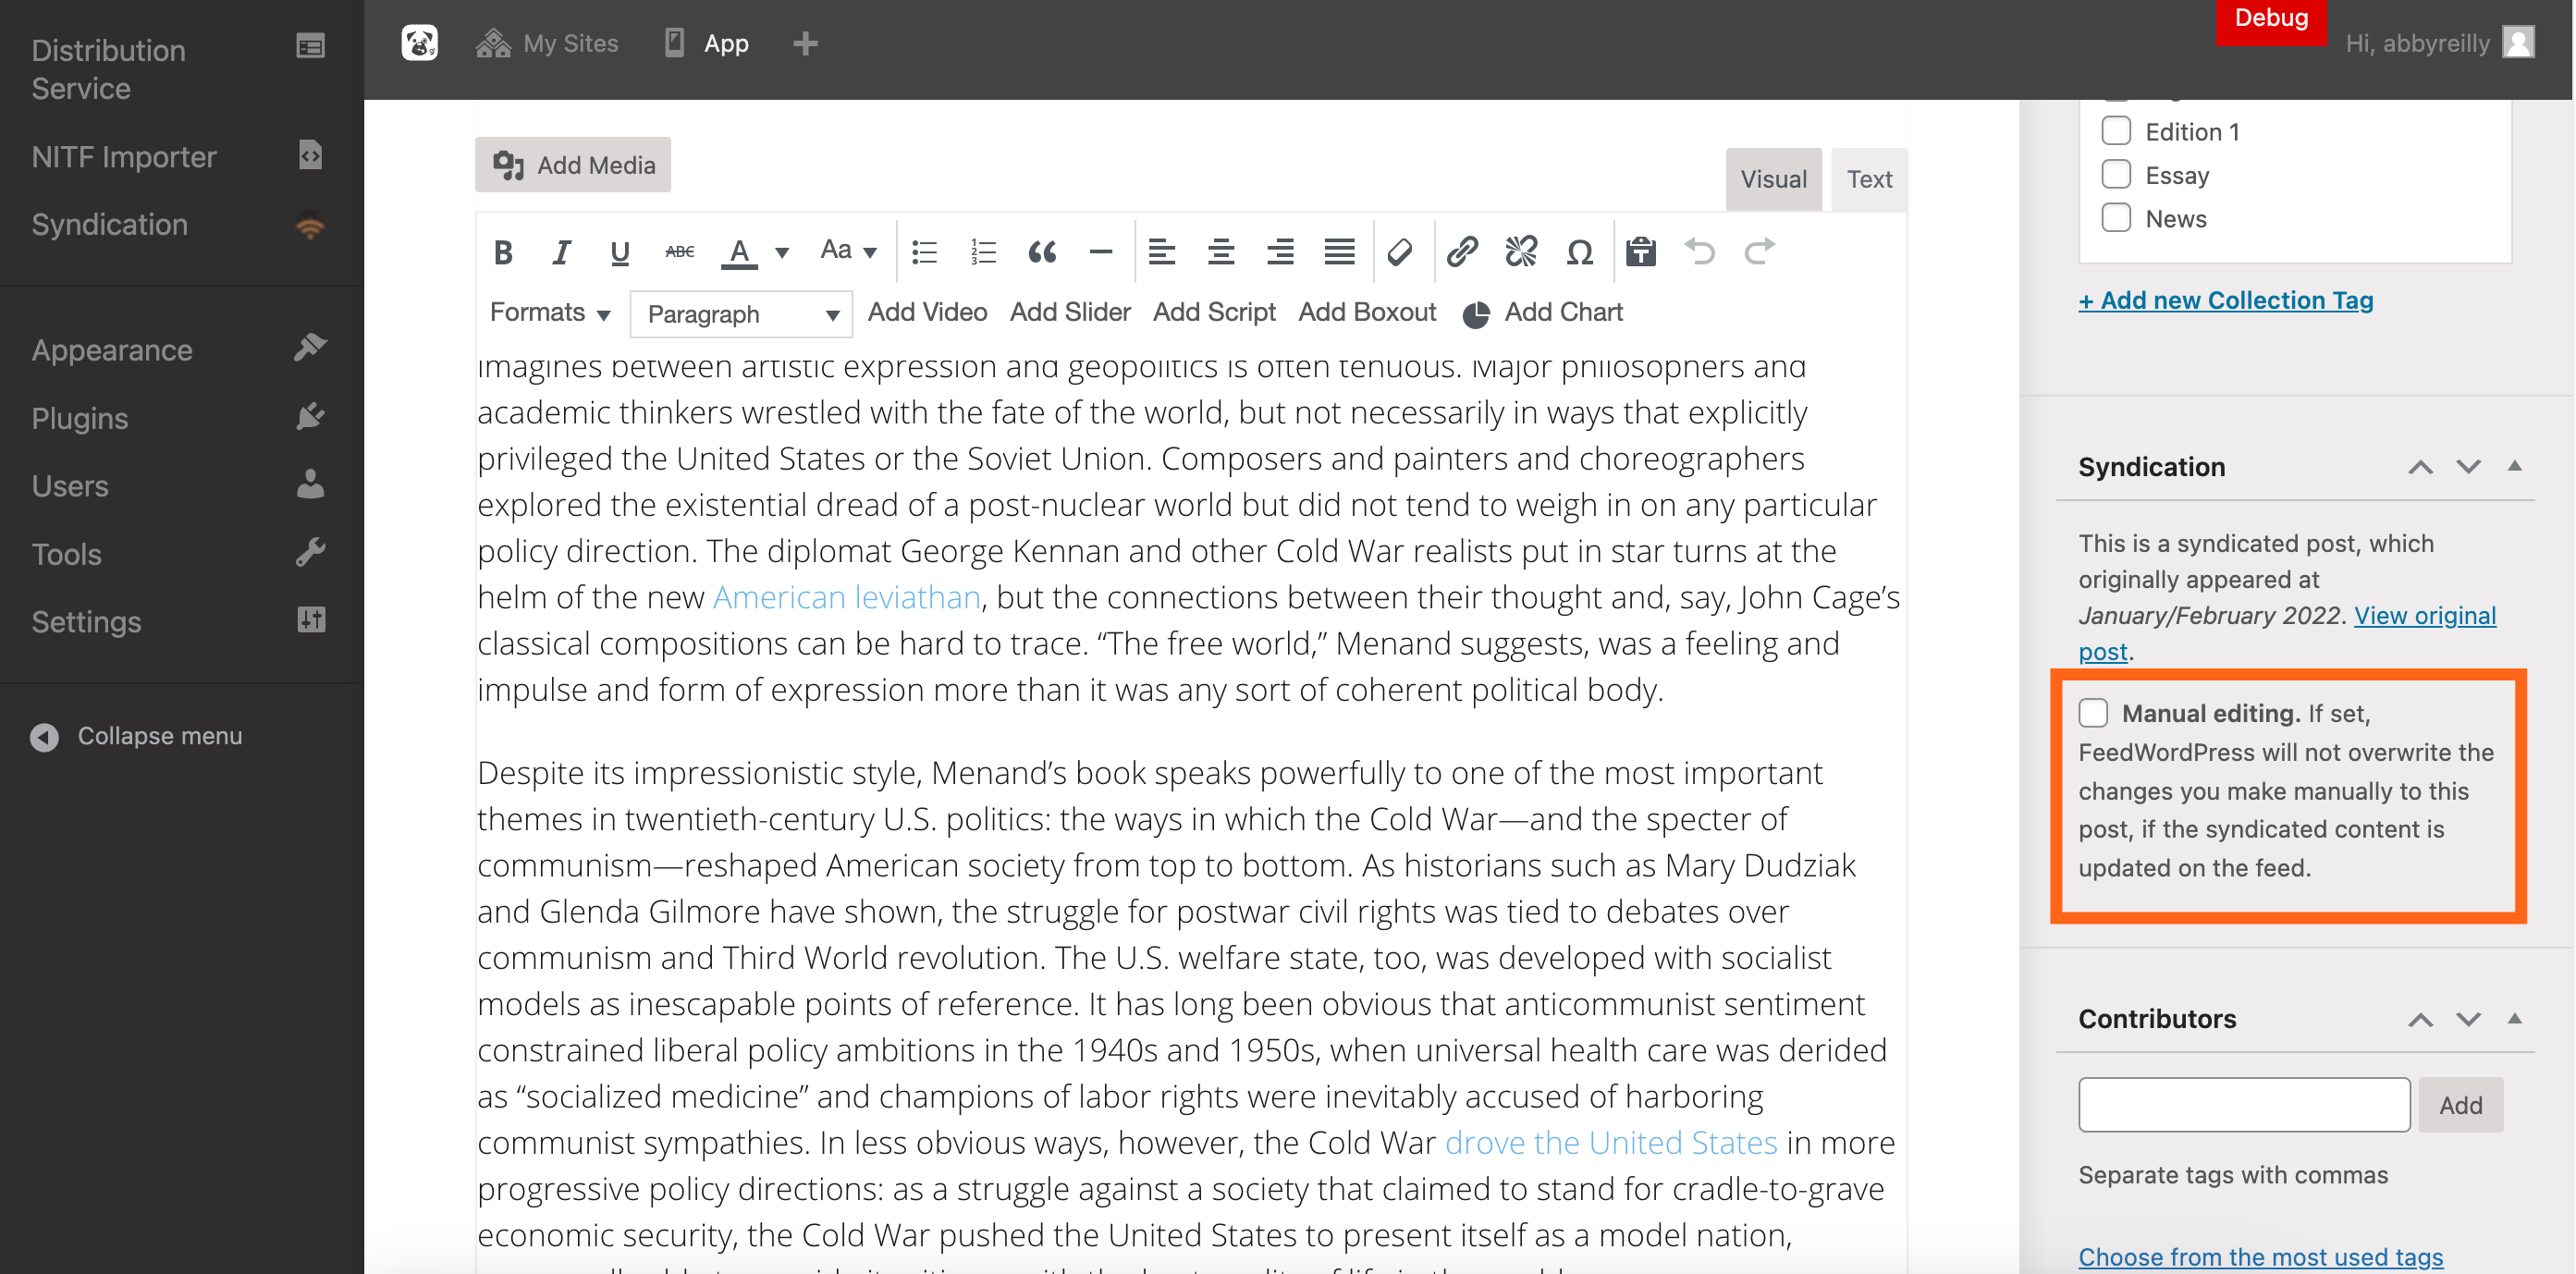
If you want to make edits directly to an article and not wait for a feed update, you can click into an article card and select "Manual Editing". This must be done first. Any changes made to the article will be overwritten by the feed content if this box is not checked.
Once you have selected the manual edit button, you can make edits and save/publish your changes.
You also have the option to change an article's status from "Published" to "Draft". This will pull an article from your feed immediately if you need to make urgent changes. You can then change the status back to "Published" when the article is completed.
Video Tutorial: How to manually edit an already published article
If you have any additional questions on anything discussed above please do reach out to your Customer Success Manager! We're happy to double check any changes made to your CMS before going live.