How to manually add, delete, and edit videos and audio in Bolt CMS
Table of Contents
How to manually add video and audio in Bolt CMS?
Audio Cards
If you navigate to your right-hand menu and go to Content > Audio Cards you should see a button at the top that says “Add Audio Card".

If you click the button you should be presented with a blank audio card template:
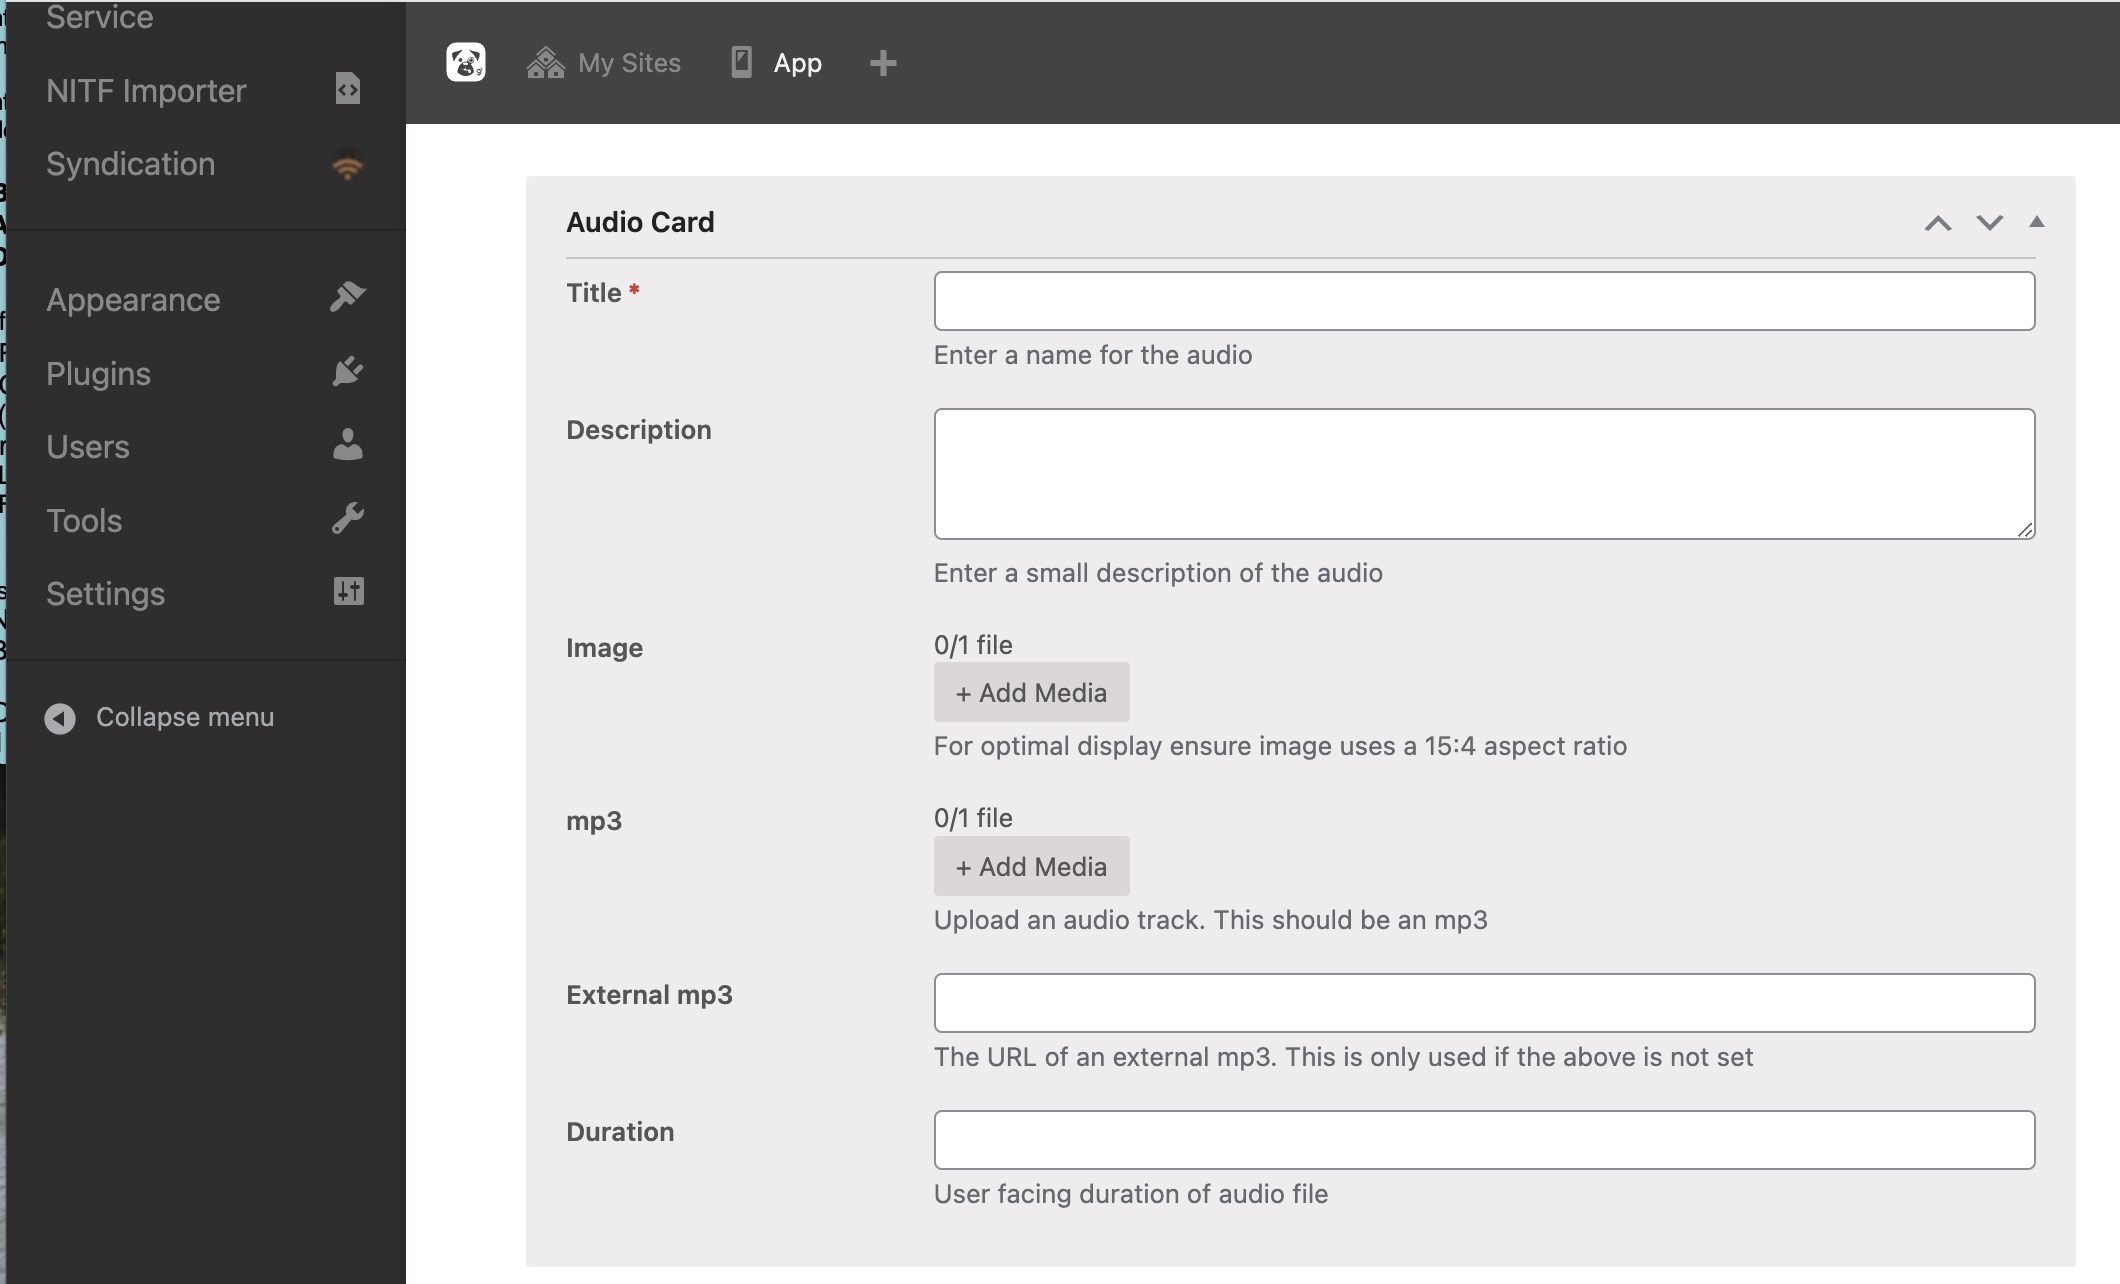
The audio card should be filled out completely. You can use the text editor to format the audio description text.
You should save throughout your progress! (The “Save” button is found in the Publish box at the top right of the template. If you save and navigate away from your progress, you will see your card listed as “DRAFT” in your feed so you know it is not live.)
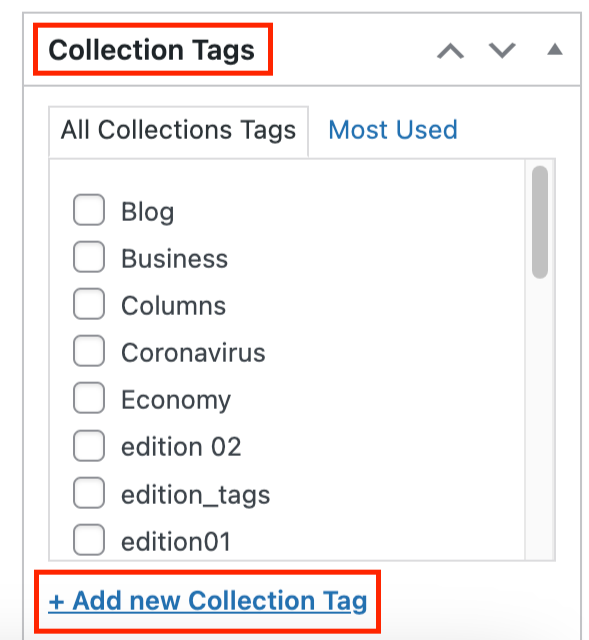
You should also check off the relevant tags (or add new tags, if necessary). There could be section, collection and/or other kinds of tag boxes available. Make sure you fill out everything that is applicable.
Additionally, there are a few options that would normally be filled out automatically by your feed, but with a manual update will need to be managed.
Timeline options: there are several boxes for you to control how your content is seen and interacted with by app users. Options include:
- Kicker: The kicker will appear as a highlighted banner above the card on the timeline. You can enter any text to appear there.
- Pin to top: Will pin a card to the top of its timeline.
- Disable sharing: Will remove the sharing option for users.
- Enable commercial banners: Adds a banner to let app uses know that they are reading a sponsored card.
- Hide from timeline: If you don't want content to appear in your live timeline, but need an card so you can create a deep link.
- Free sample: if you want this card to be excluded from your paywall.
- Note: Your settings on your timeline must allow for content to be shared for free. Otherwise, this setting will not stick.
- Hide publication date: You can click this to hide the publication date from app users.
When you are ready to publish, press “Publish”.
Video tutorial: How to add an audio card
Video Cards
If you navigate to your right-hand menu and go to Content > Video Cards you should see a button at the top that says “Add Video Card".

If you click the button you should be presented with a blank video card template:
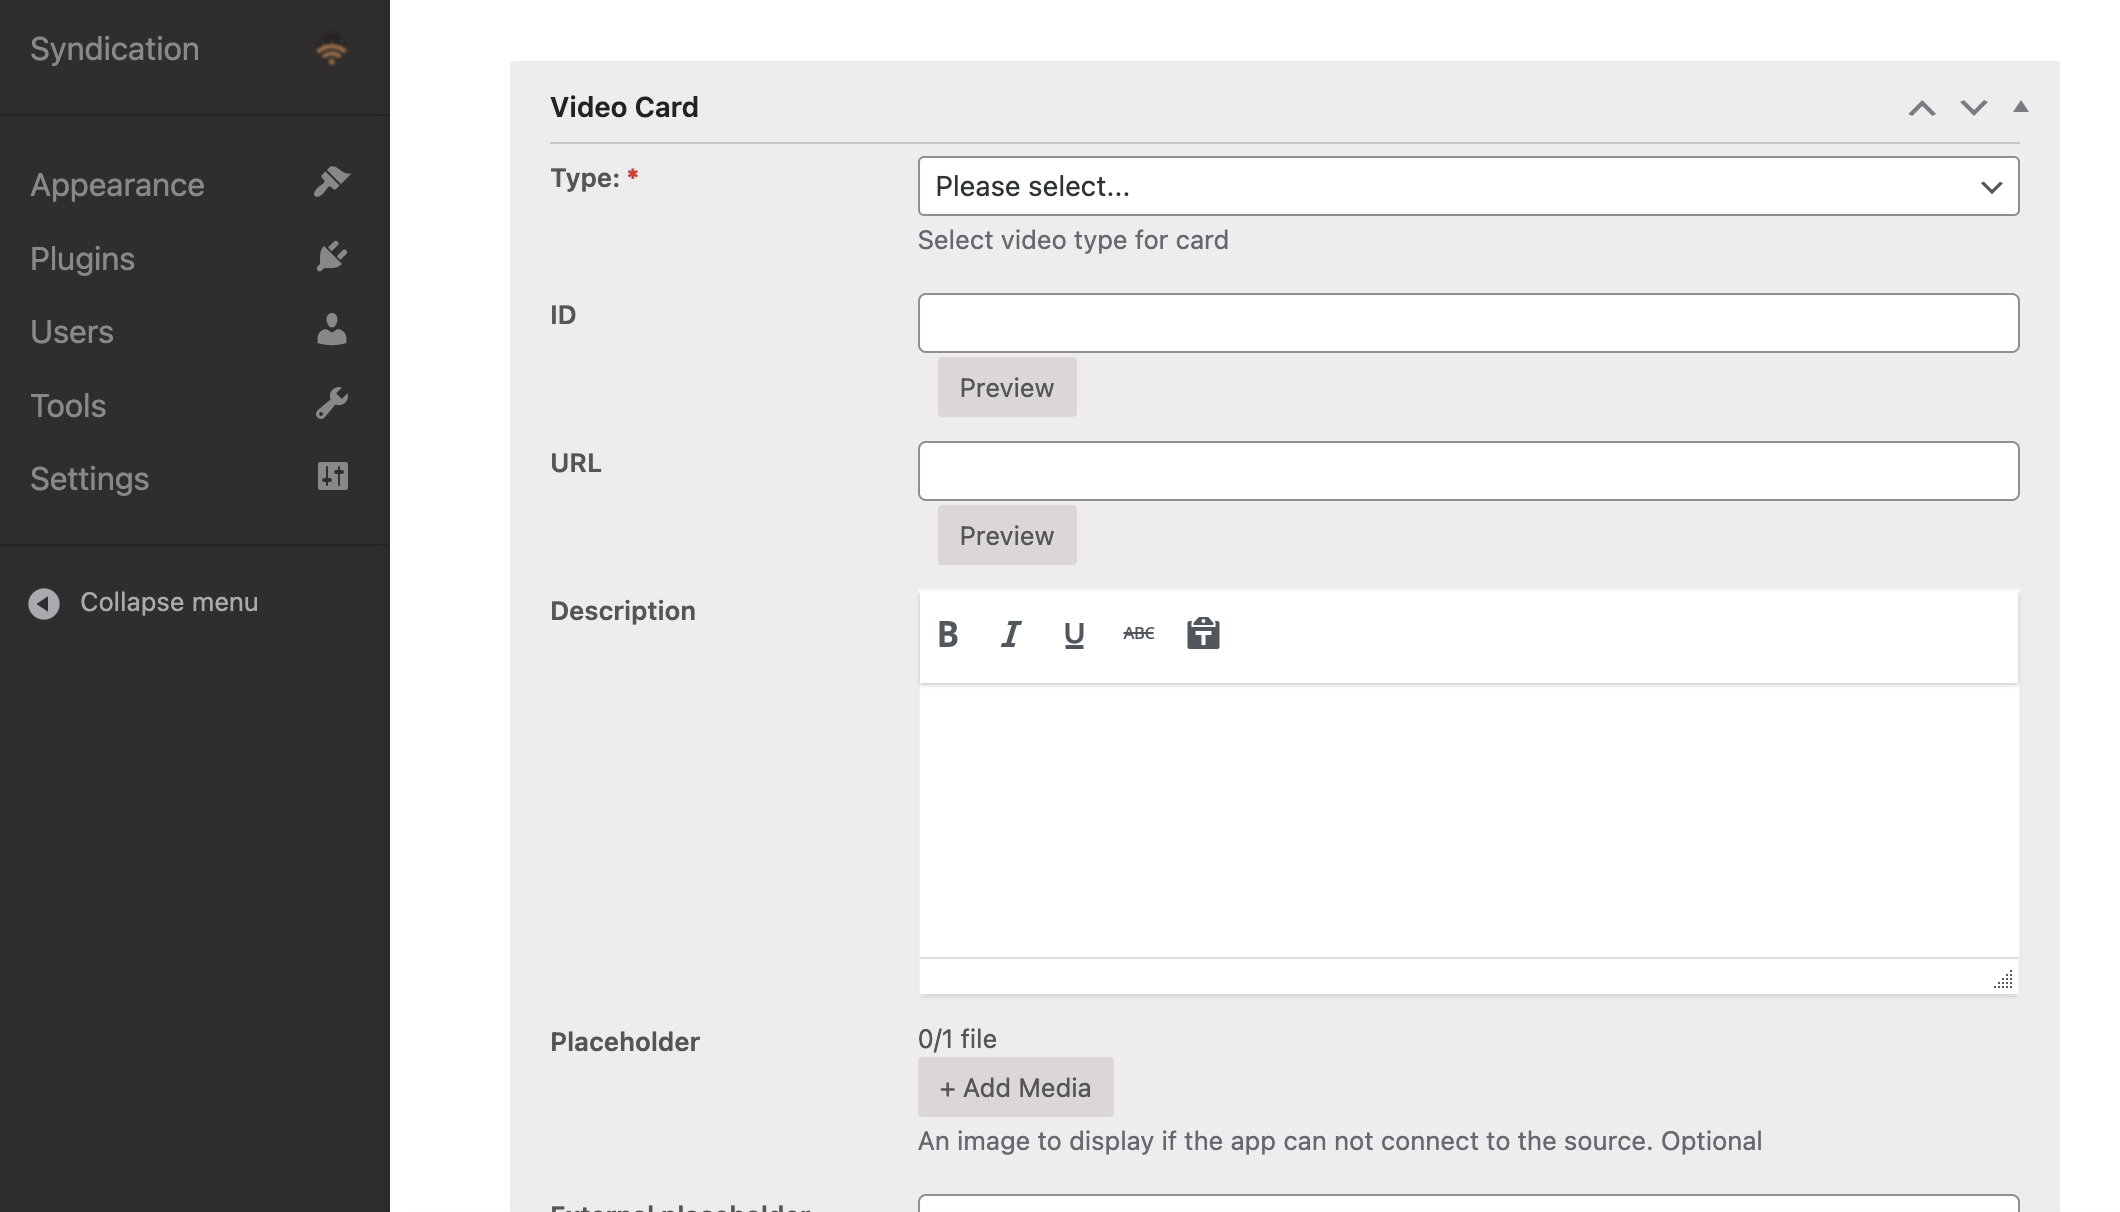
The video card should be filled out completely. You can use the text editor to format the video description text.
You should save throughout your progress! (The “Save” button is found in the Publish box at the top right of the template. If you save and navigate away from your progress, you will see your card listed as “DRAFT” in your feed so you know it is not live.)
You should also check off the relevant tags (or add new tags, if necessary). There could be section, collection and/or other kinds of tag boxes available. Make sure you fill out everything that is applicable.

Additionally, there are a few options that would normally be filled out automatically by your feed, but with a manual update will need to be managed.
Timeline options: there are several boxes for you to control how your content is seen and interacted with by app users. Options include:
- Kicker: The kicker will appear as a highlighted banner above the card on the timeline. You can enter any text to appear there.
- Pin to top: Will pin a card to the top of its timeline.
- Disable sharing: Will remove the sharing option for users.
- Enable commercial banners: Adds a banner to let app uses know that they are reading a sponsored card.
- Hide from timeline: If you don't want content to appear in your live timeline, but need an card so you can create a deep link.
- Free sample: if you want this card to be excluded from your paywall.
- Note: Your settings on your timeline must allow for content to be shared for free. Otherwise, this setting will not stick.
- Hide publication date: You can click this to hide the publication date from app users.
When you are ready to publish, press “Publish”.
Video tutorial: How to add an video card
How to manually delete video and audio in Bolt CMS?
This follows the standard deletion SOP for other types of content cards.
From inside the card, go to the right-hand Publish box. There is an option to “Move to Bin”. If you click that option, your card will be deleted.
You can also delete items by hovering over the card from the complete list of audio/video cards in the main card screen. A menu will appear with “Bin” as an option. Click “Bin” to delete.
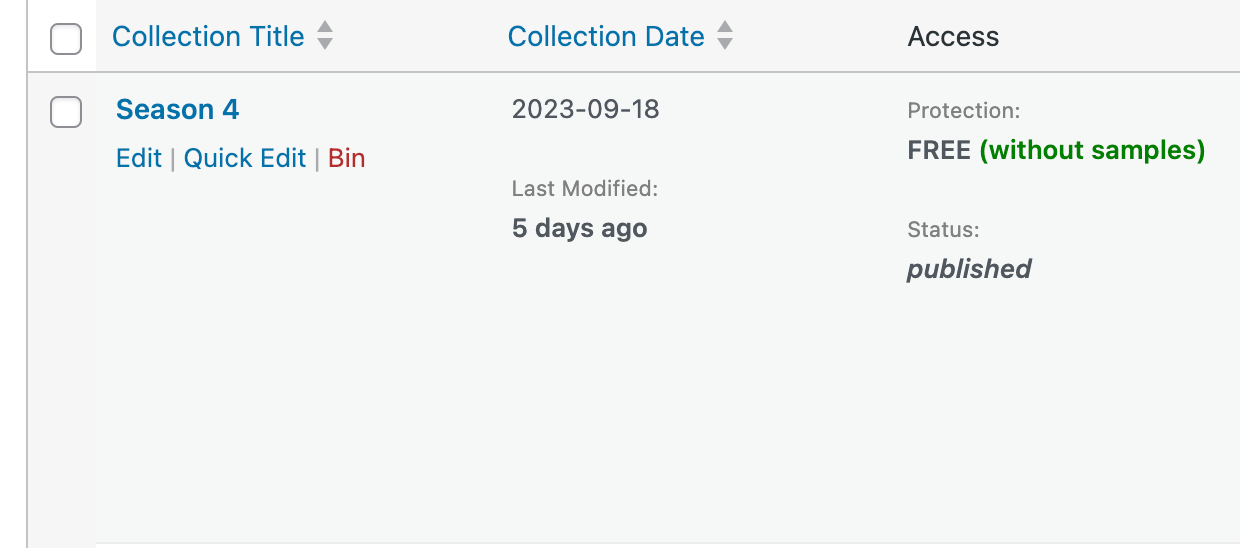
Cards can be removed in bulk from your feed. On your page with all your listed cards, if you select the cards to be deleted and then select “Move to Bin” from the Bulk Action dropdown, you will delete all the selected cards.

Under the audio or video feed page, there will be a link to “Bin”, which is where trashed cards live. On the Bin page, you can select to permanently delete something or restore.
Replacing Deleted Items from Your Feed
if you want to publish a new version of a card from your feed, but a previous version still is in your Bin, the card will not be published (since the feed will think it is a duplicate). You need to permanently delete the old card for the updated card to publish from your feed. You can also select ‘Empty bin” to permanently delete all items in the bin.
Video Tutorial: How to delete an audio or video card
Video Tutorial: How to restore an audio or video card
How to edit video and audio in Bolt CMS
If you want to make edits directly to a video or audio card and not wait for a feed update, you can click into a card and select “Manual Editing”. This must be done first. Any changes made to the card will be overwritten by the feed content if this box is not checked.
Once you have selected the manual edit button, you can make edits and save/publish your changes.
You also have the option to change a card's status from “Published” to “Draft”. This will pull the card from your feed immediately if you need to make urgent changes. You can then change the status back to “Published” when the changes are completed.
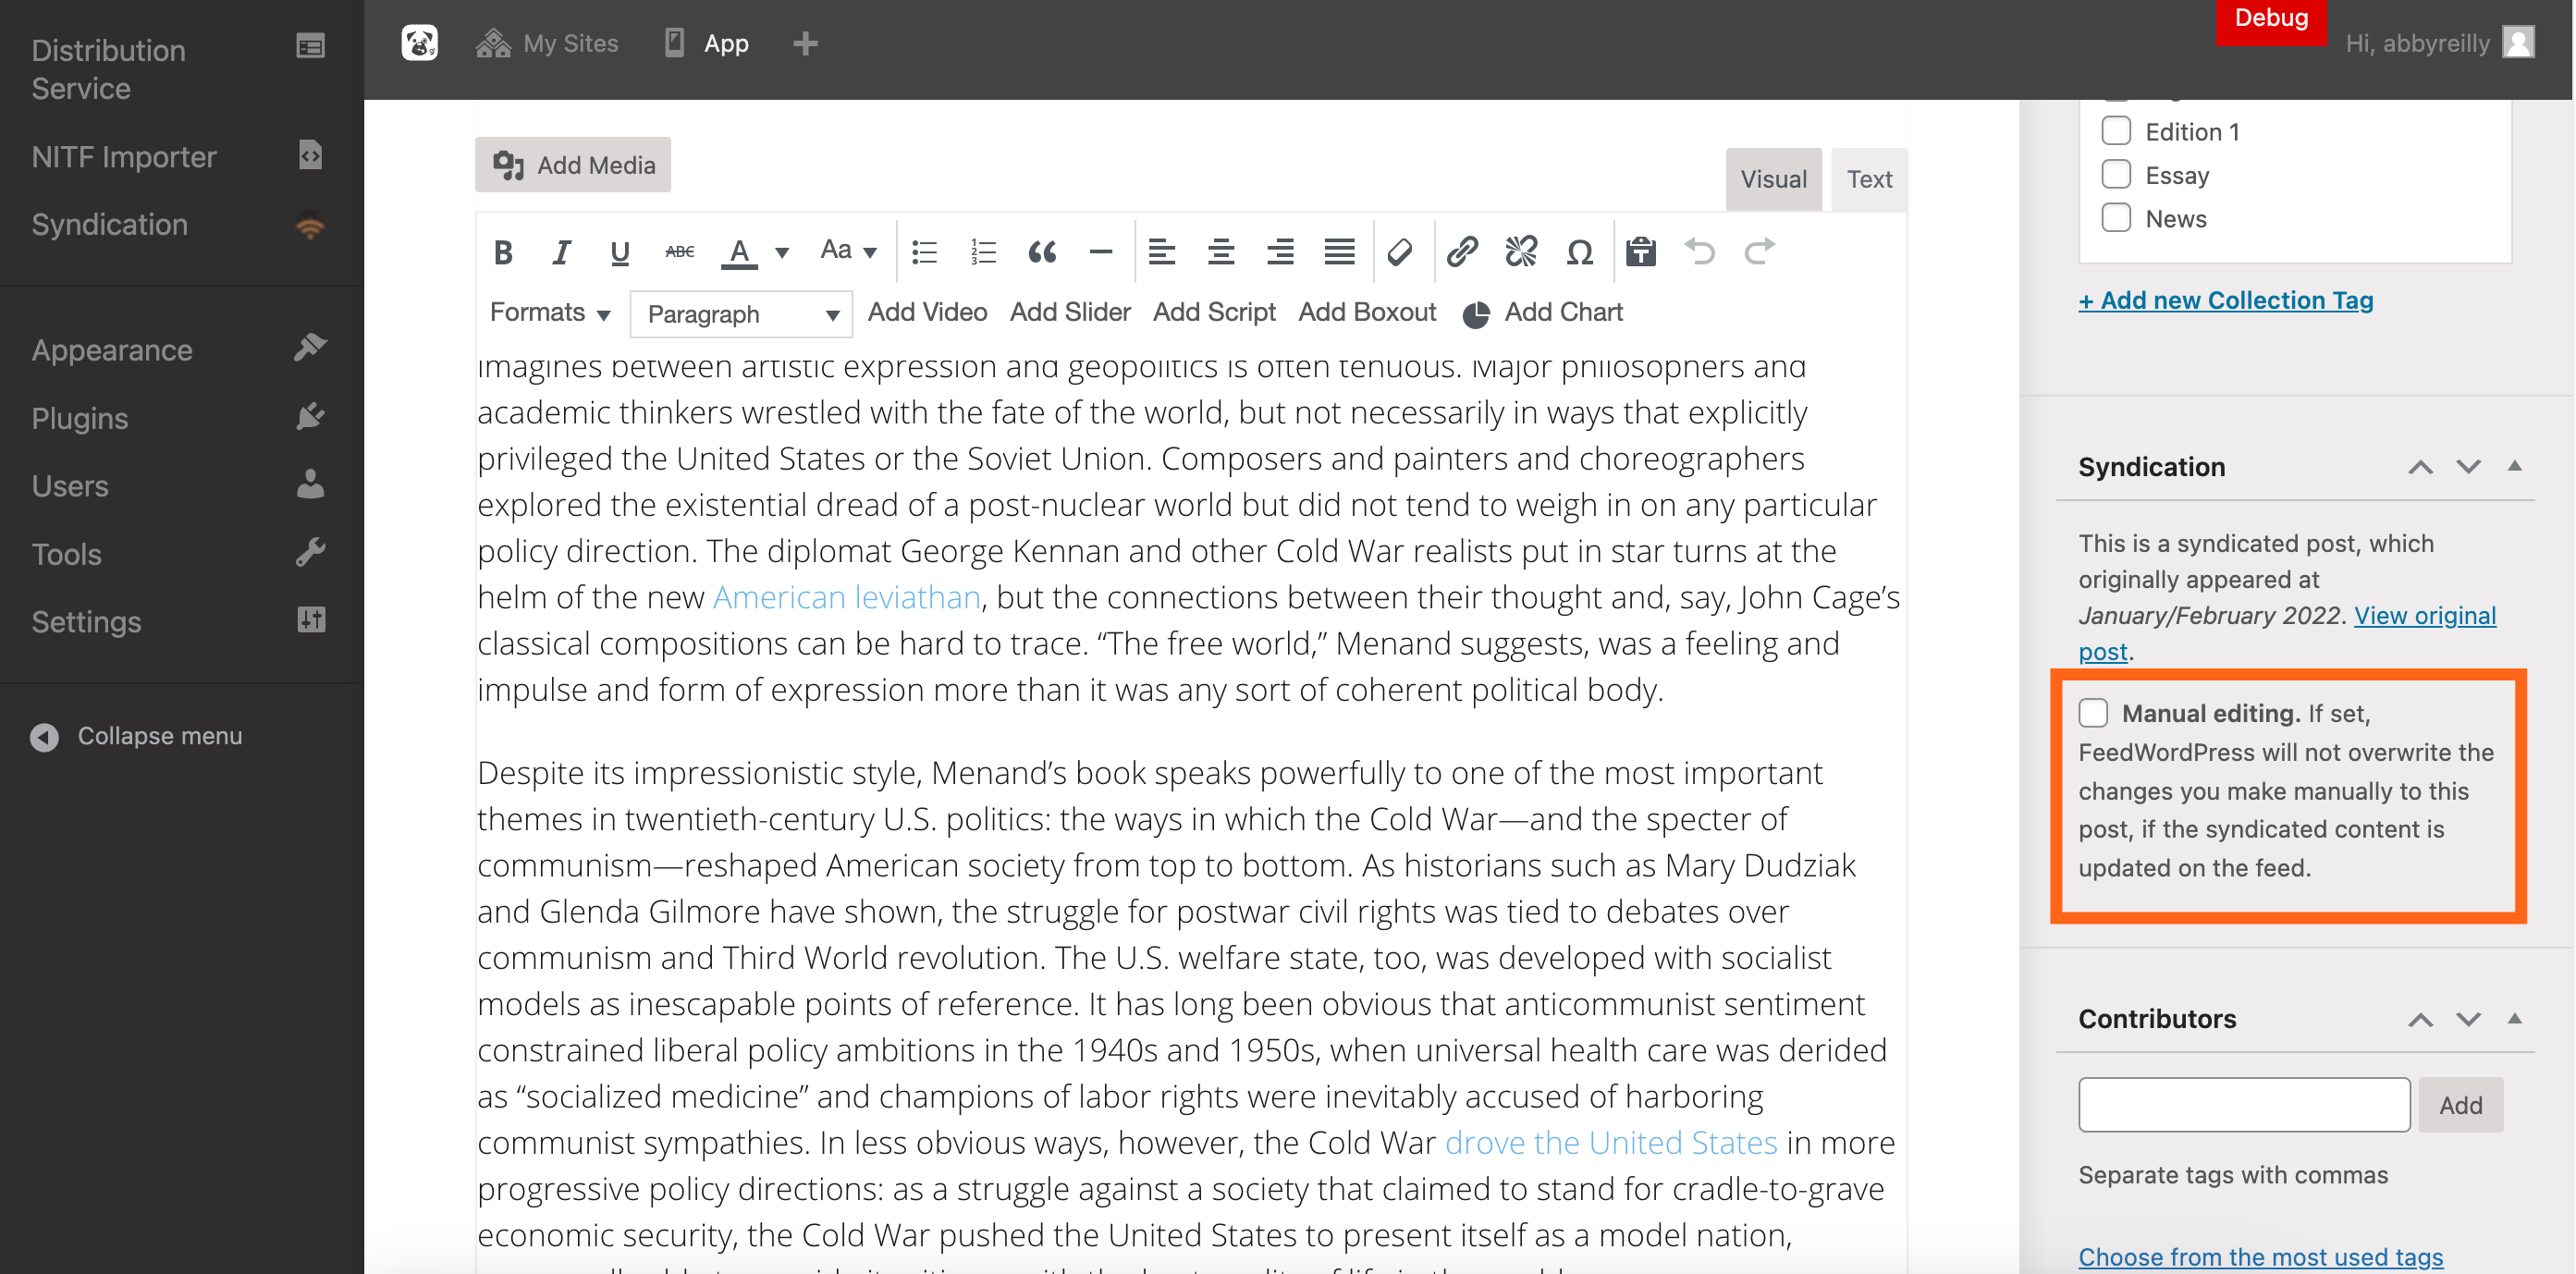
Video Tutorial: How to manually edit an already published audio or video card.


