Creating and exporting Bolt splash screen
Table of Contents
On Bolt, we support an animated splash screen. This is typically a logo or other simple and small image. It appears whenever the app is launched on a user's device.
The animation must be created in Adobe After Effects with the spec 300px by 300px square. Therefore, to follow these steps, you will need Adobe After Effects installed on your machine.
The assets and animations should be placed within one composition for rendering.
Once the animation is completed according to these specifications, follow the steps below to render the animation suitable for a mobile application.
1. Download and install the Bodymovin plugin from aescripts.com. You will also need to download zxp installer.
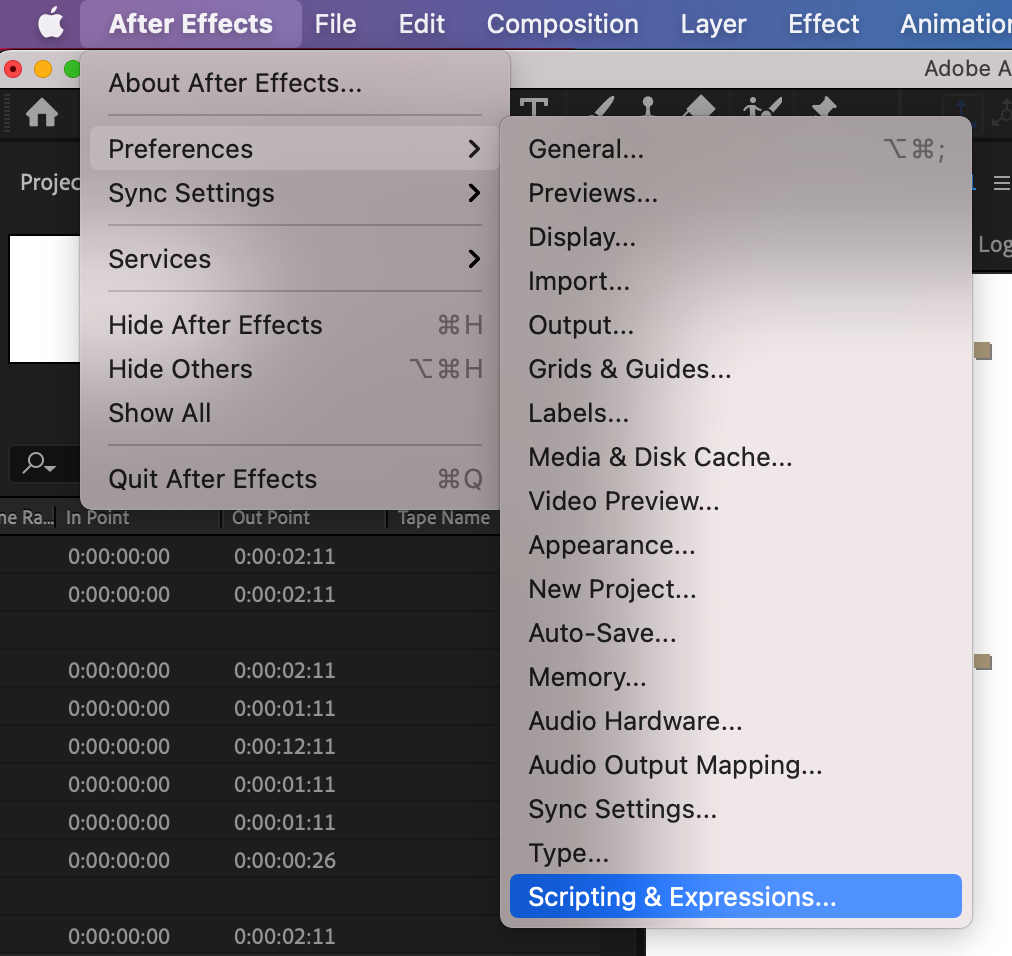
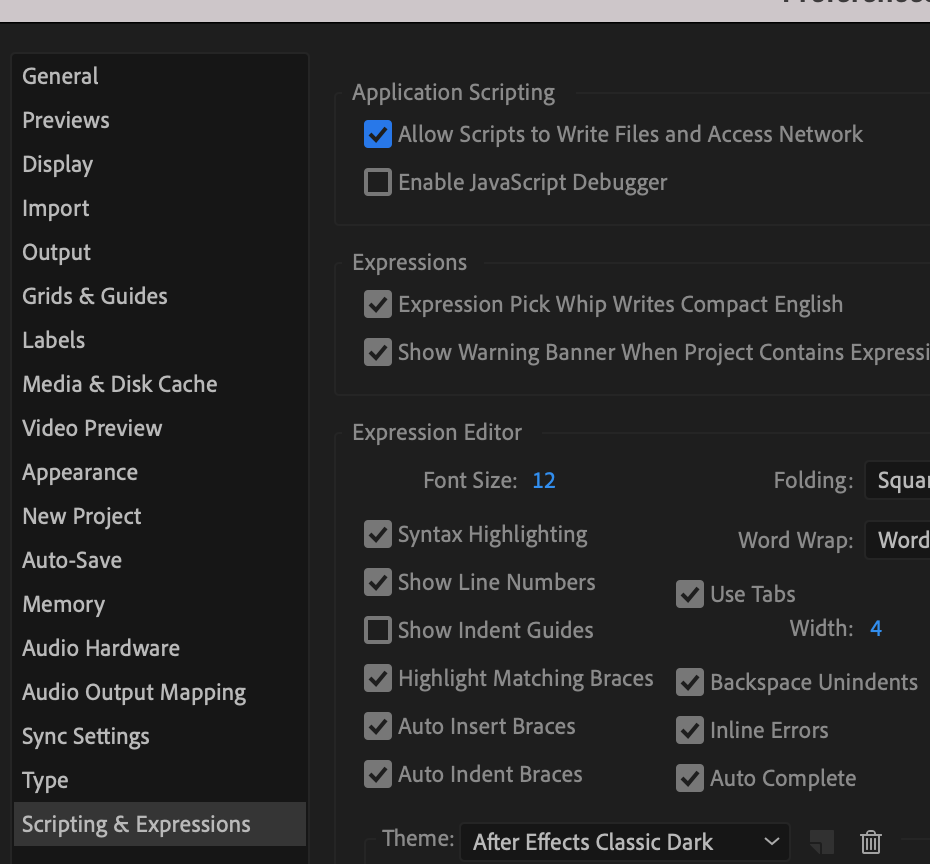
2. After the plugin is successfully installed, you will need to go to the After Effects general settings > preferences > scripting & expressions > then "Allow scripts to write files and access network".
3. Open the .aep file created for the animation.
4. Click Window > Extensions > Bodymovin and a dialogue box will appear on your screen.
5. In the list, find the composition with the complete animation for rendering and click the settings icon.
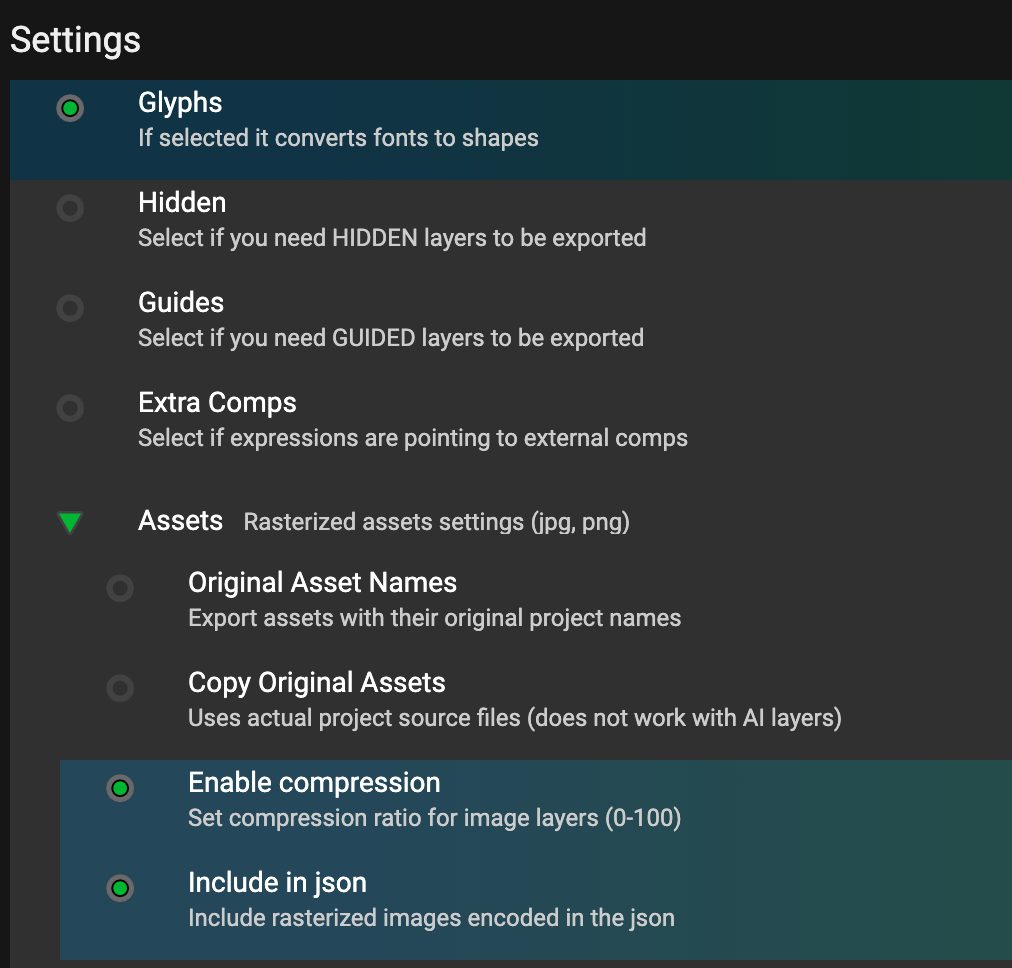
6. In Settings, click the tickbox on the following 3 items and then click Save:
- Glyphs: If selected it converts fonts to shapes
- Enable compression
- Include in json: Include rasterized images encoded in the json
7. Still in the Bodymovin plugin, click the 3 horizontal dots on the composition you want to render and choose a location for saving the rendered json
8. Click the Render button and wait a few minutes while it completes.
9. The rendered file should be saved as a .json. This can then be uploaded to the Pugpig Distribution Service in the theme settings as an interstitial ad.
10. Once a new configuration has been generated and activated, the animated splash screen will appear in the app on launch.
Testing The Splash Screen
1. Once you have successfully rendered the splash screen, you will see the screen below
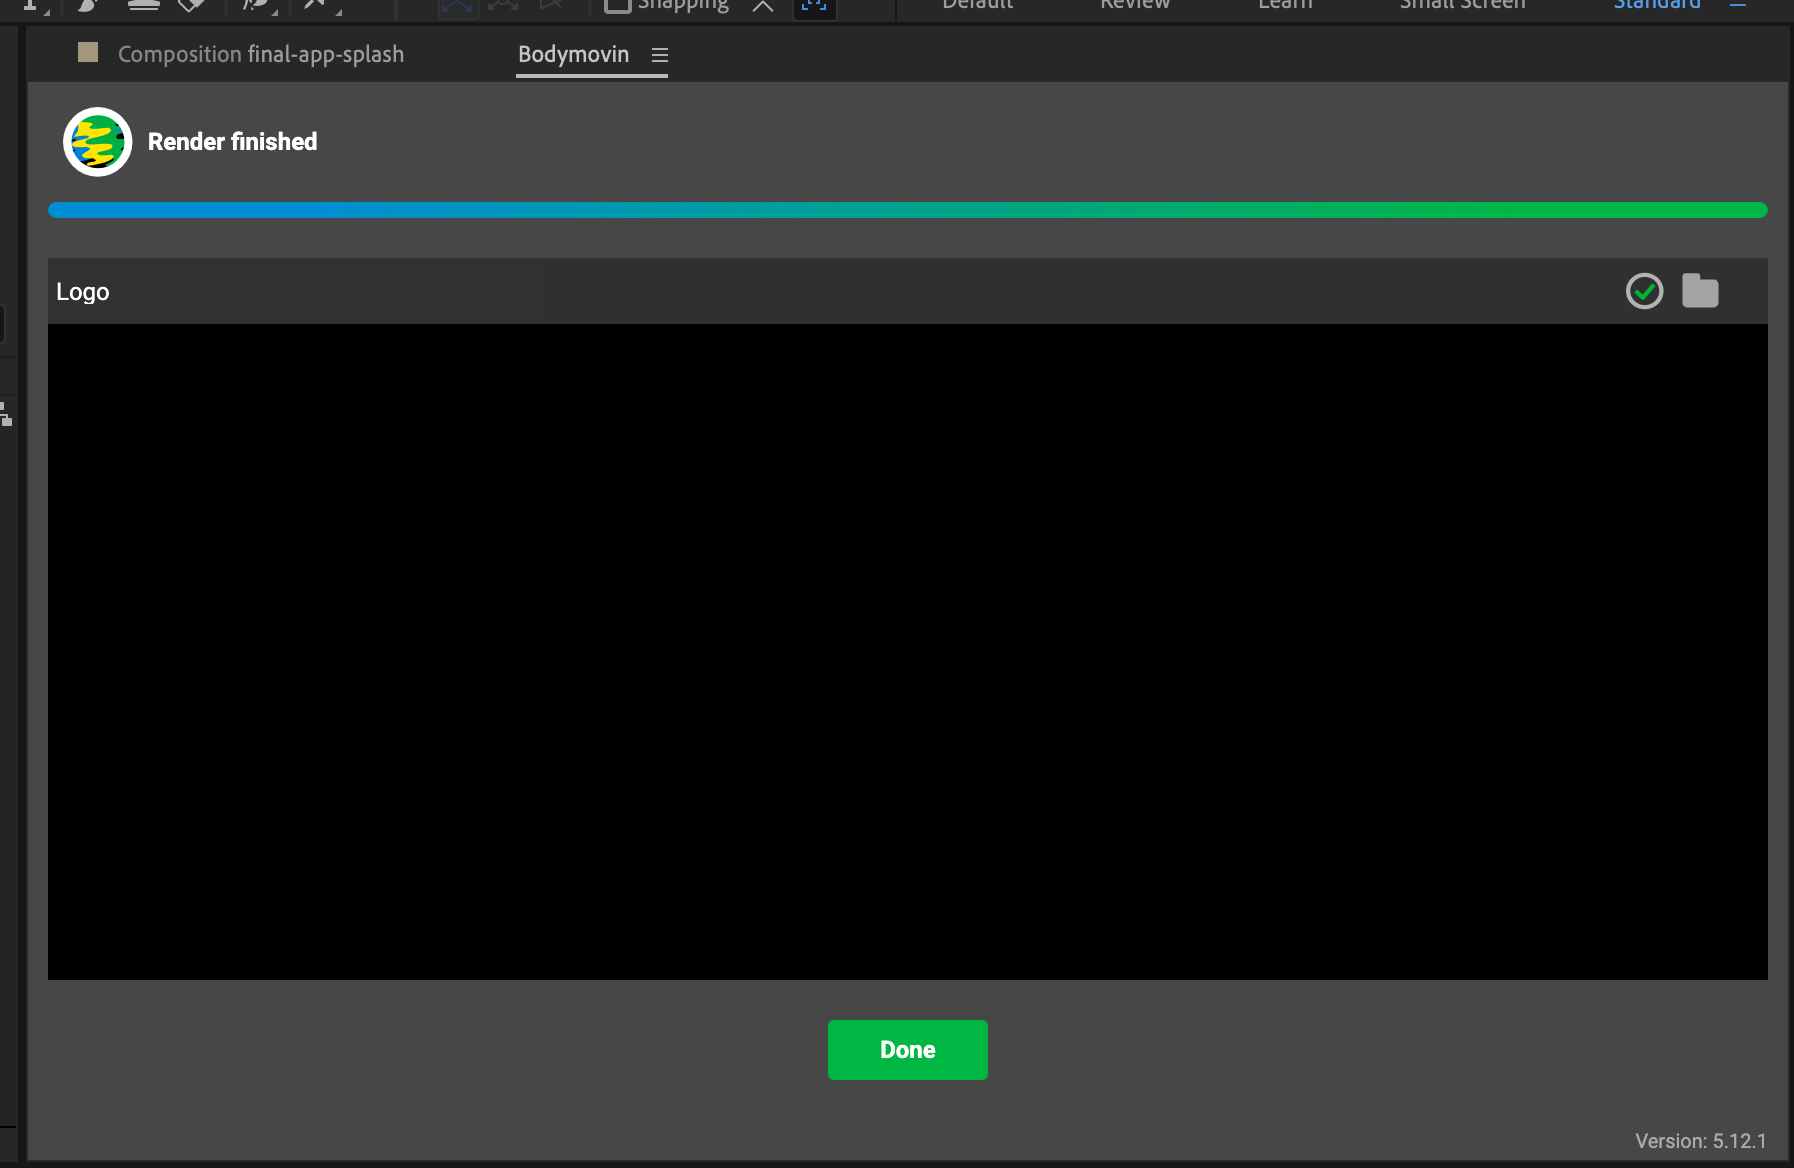
2. Click on the 'tick' to complete the task and you should the screen below:
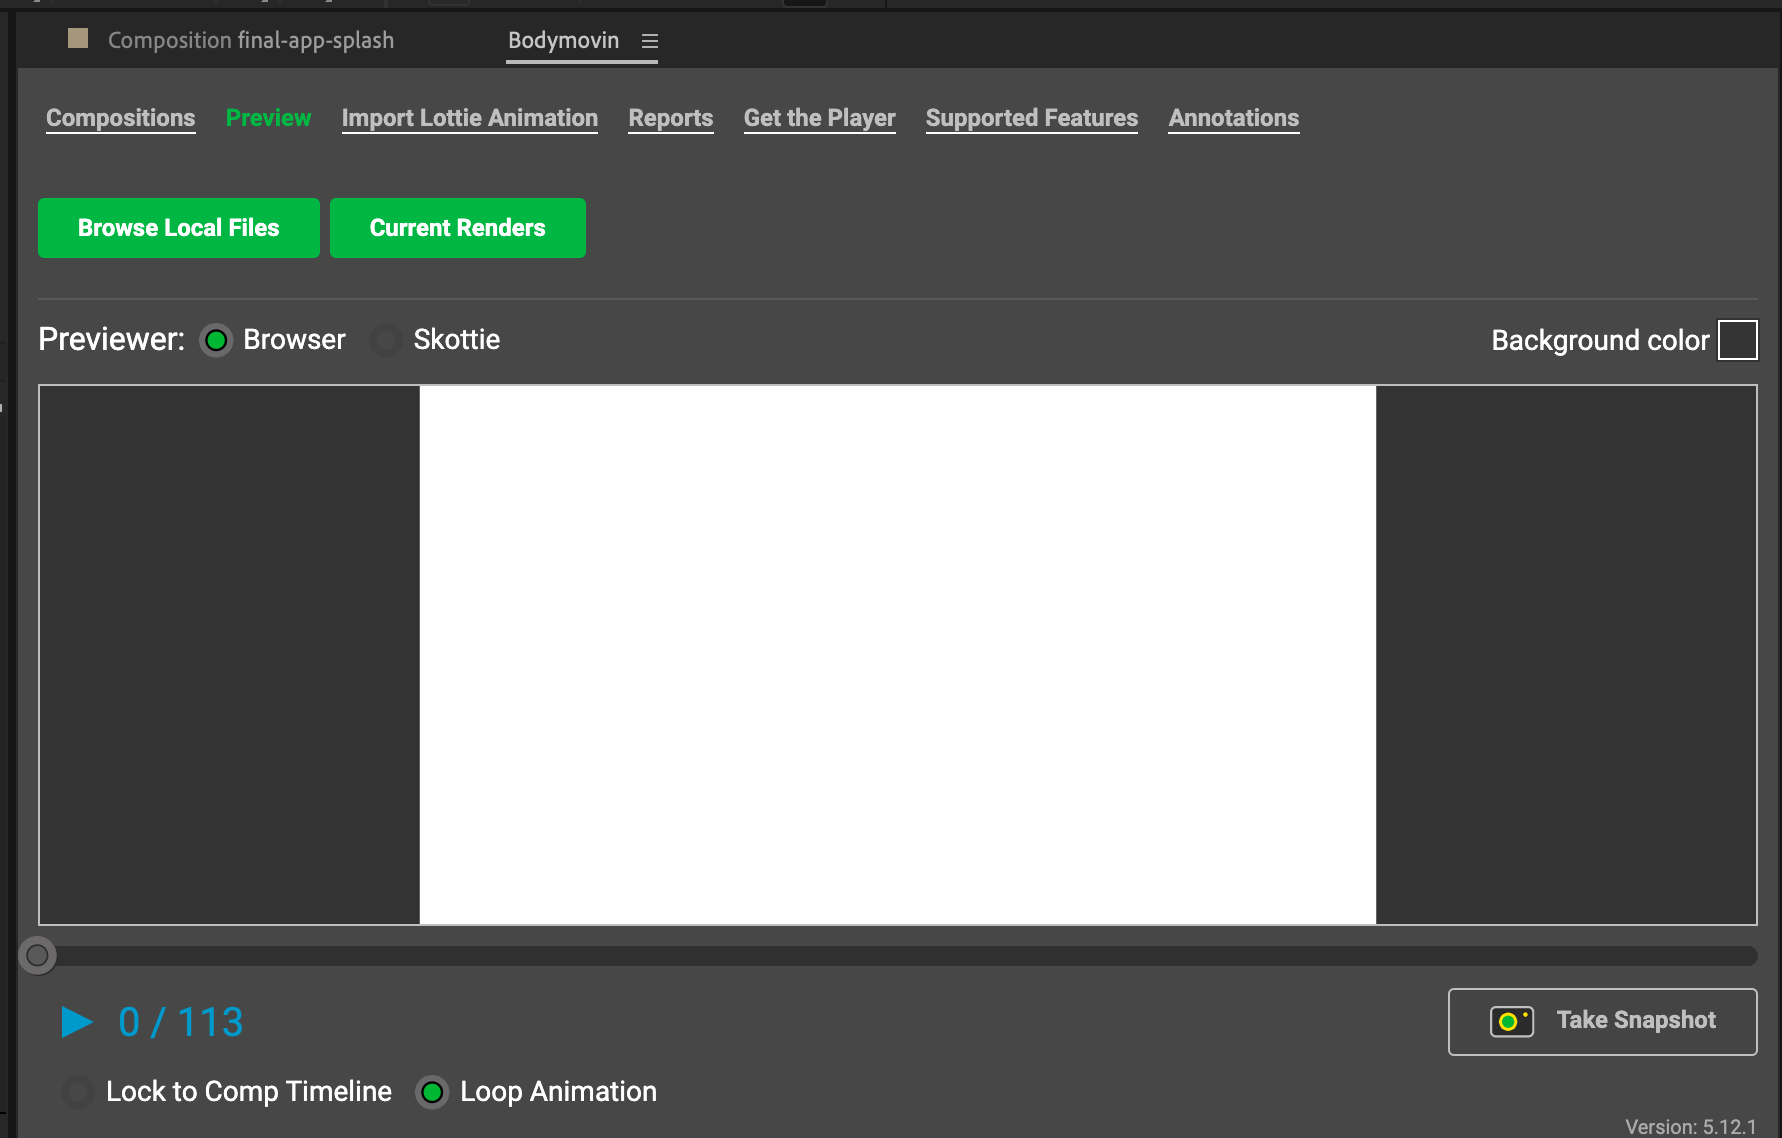
3. Test by playing the file in the preview BodyMovin plugin to check the file is playing as expected and the animation is clear. If the preview shows a white image only, then this means there is an issue with the file and will not work on our end also.
Working with MP4 Files and Animation
When dealing with MP4/Video files, export the MP4 animation as a PNG Sequence first. A tutorial can be found here.
Afterward, reimport the PNG sequence into the Aftereffects Composition with the correct resolution and dimensions. These are the steps to follow.
Then proceed to the BodyMovin instructions in Step 4 of this document.


